
The capacity to take screenshots efficiently is a crucial skill for every computer user. Understanding how to take a screenshot on your Asus laptop is essential, whether you want to record a vital moment during a video conference, document a software problem, or just share interesting content from the web. We’ll explore a variety of techniques for smoothly capturing your screen in this extensive article, each one tailored to your tastes and requirements.
Screenshotting on Asus Laptop
Taking screenshots is an adaptable technique that might be utilized for sharing images and making instructional guides, in addition to other things. Asus laptops offer a variety of screenshot methods, each with unique benefits. This article will cover five methods that provide clients with various choices to accommodate their tastes. These methods incorporate outside programs and built-in Windows abilities. Learn how to take a screenshot effortlessly with these methods.
Method 1: Screenshot on Asus Laptop Using Screenpixel
Download and Install Screenpixel
Screenpixel is a simple, easy-to-use program for taking rapid and effective screenshots on Asus computers. Users may quickly get started thanks to the smooth installation procedure.
Capture a Screenshot
Once Screenpixel is installed, capturing a screenshot is a breeze:
-
Press two mouse buttons simultaneously to initiate the screenshot process.
-
Drag to select the desired area on your screen.

-
Release the mouse buttons to capture the selected area.

-
Press Enter to instantly copy a short link to the screenshot to the clipboard.
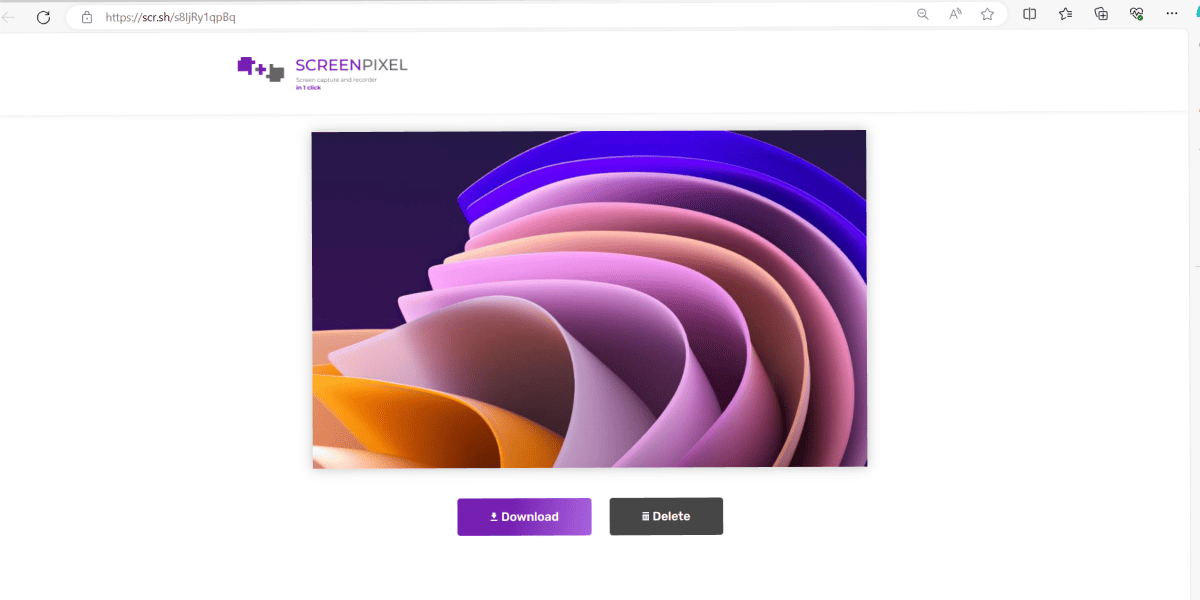
For users who want a simple solution for their screenshot requirements, Screenpixel is a great option because of its speed and simplicity.
Method 2: Screenshot on Asus Laptop Using Print Screen
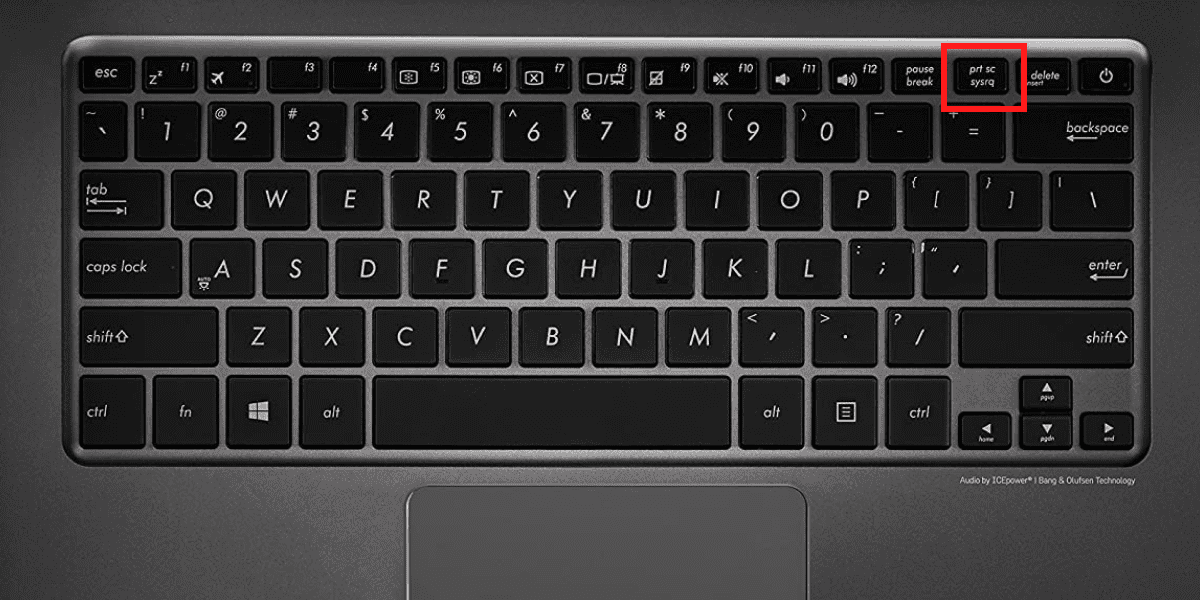
For a time-tested traditional technique on your Asus laptop, utilize the Print Screen (PrtSc) key. Follow these simple steps to learn how to quickly take a screenshot using this classic method.
-
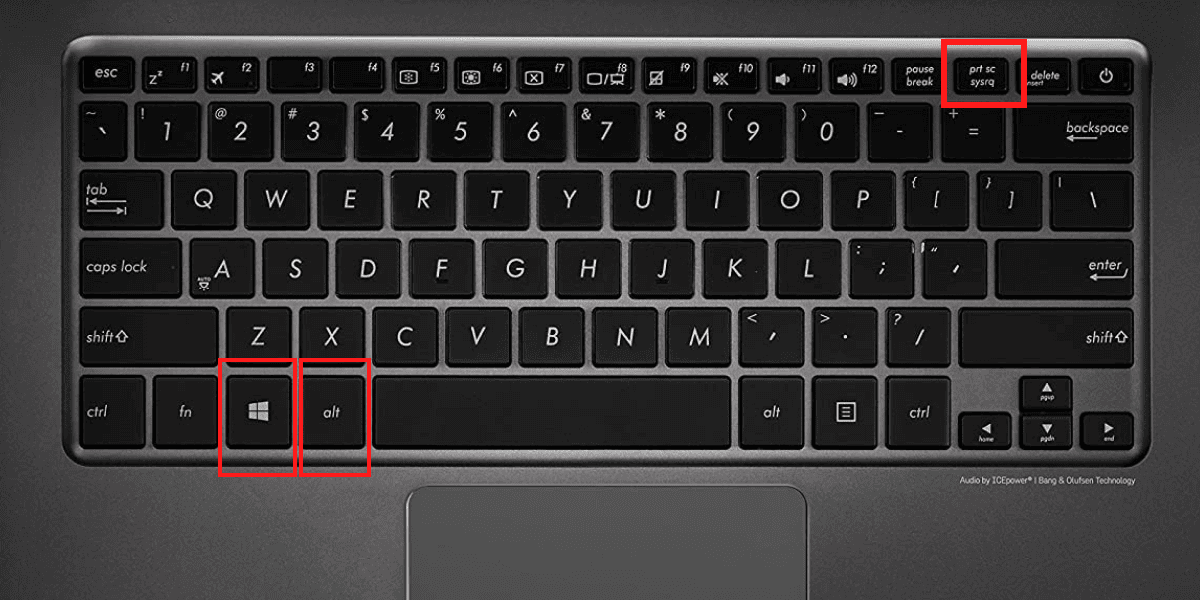
Locate the PrtSc key on your keyboard, usually situated in the upper-right corner.
-
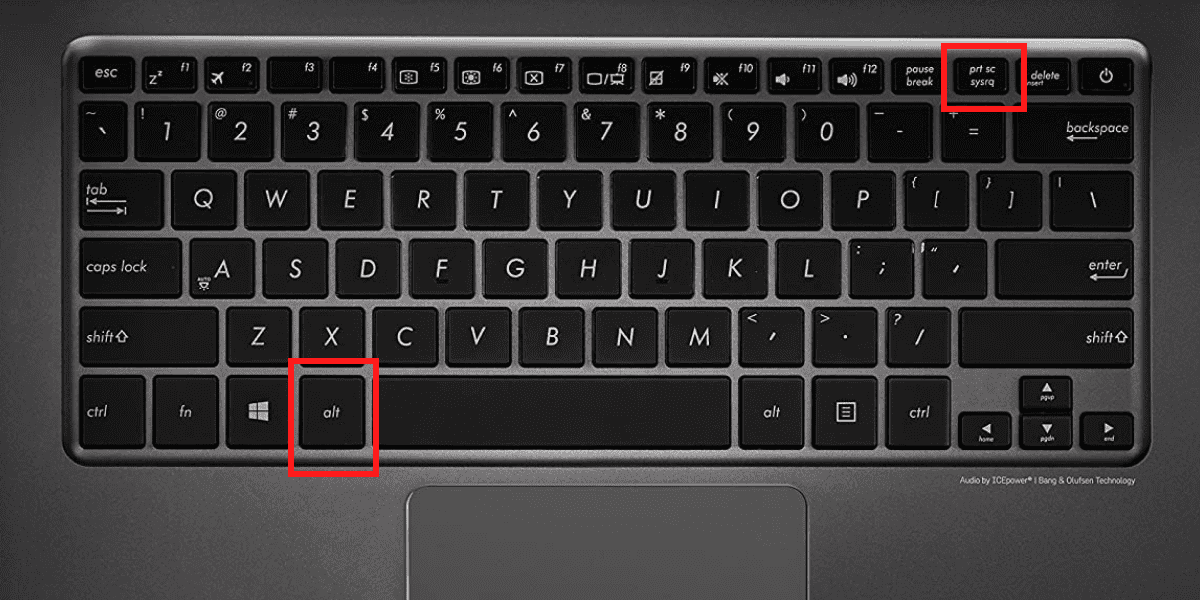
Press the PrtSc key to capture the entire screen. To capture only the active window, use Alt + PrtSc.
-
Open an image editor, such as Paint or Microsoft Word, and paste the screenshot (Ctrl + V).
-
Save the image to your preferred location.
The print screen on Asus laptop is a handy choice for simple snapshot requirements since it is easy to use and doesn’t need any extra software.
Method 3: Screenshot on Asus Laptop with Xbox Game Bar
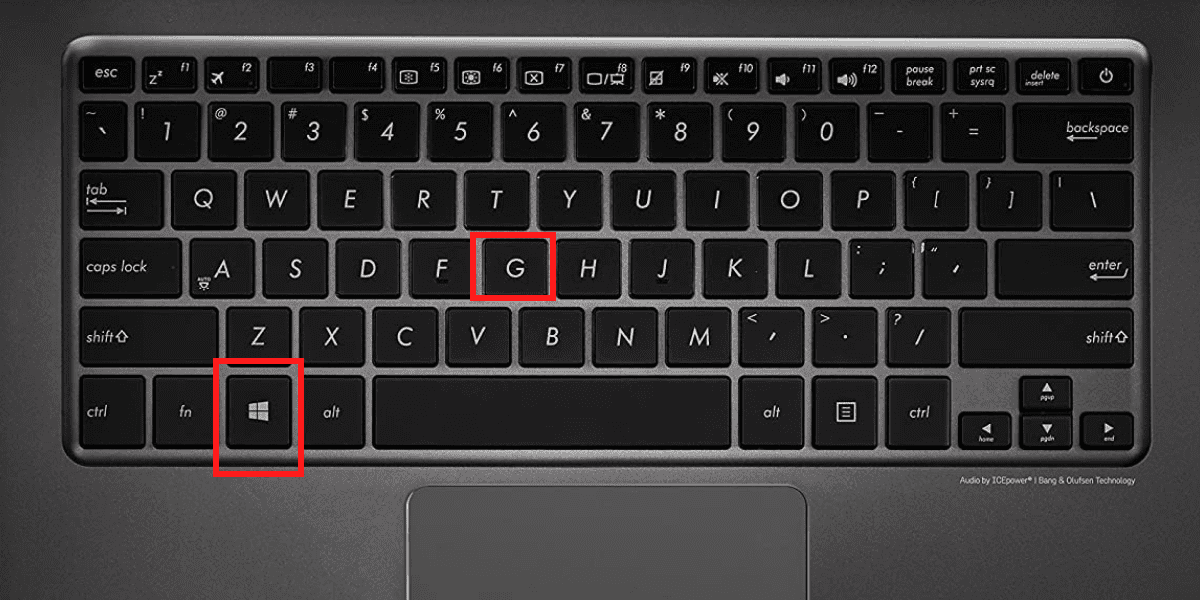
Known mostly for its gaming functions, the Xbox Game Bar can also be used to take pictures on your Asus laptop. Just follow these steps:
-
Press Win + G to open the Xbox Game Bar.
-
Click on the camera icon or use the shortcut Win + Alt + PrtSc to capture a screenshot.
-
The screenshot is automatically saved to your Captures folder in the Videos library.
This approach serves customers who are used to using the Xbox Game Bar and would like to have an integrated solution rather than relying on other programs.
Method 4: Screenshot on Asus Laptop using Snipping Tool (Windows 7/8/10)
Windows operating systems have always had the Snipping Tool on Asus, which allows users to take screenshots of certain areas of their displays. To utilize the Snipping Tool on an Asus laptop, follow these steps:
-
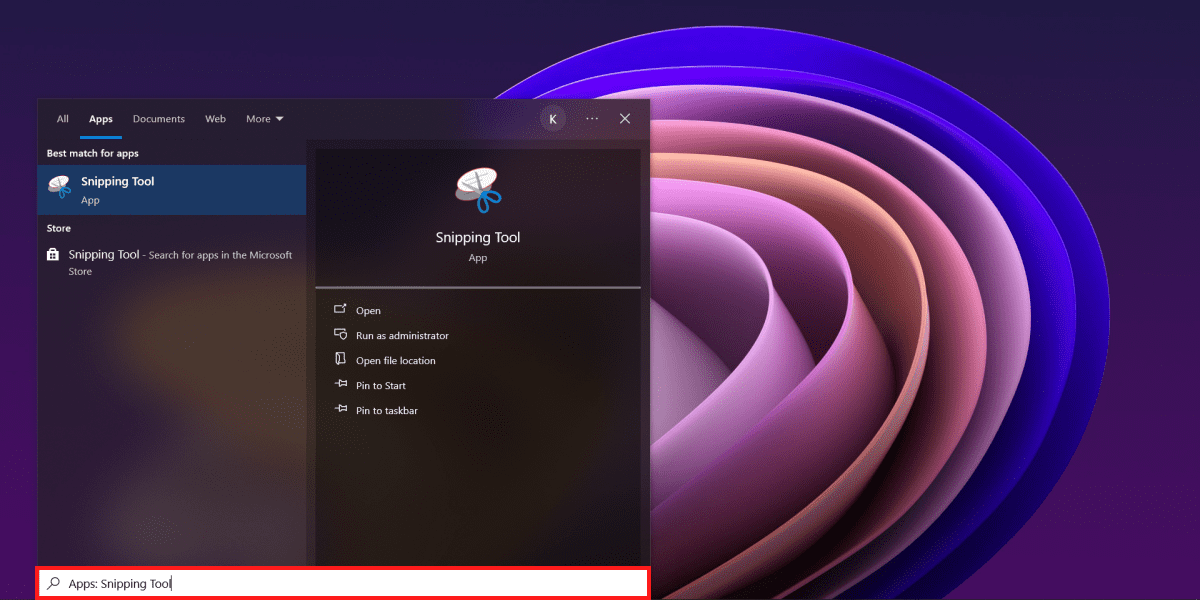
Open the Start menu and search for Snipping Tool.
-
Open the Snipping Tool application.
-
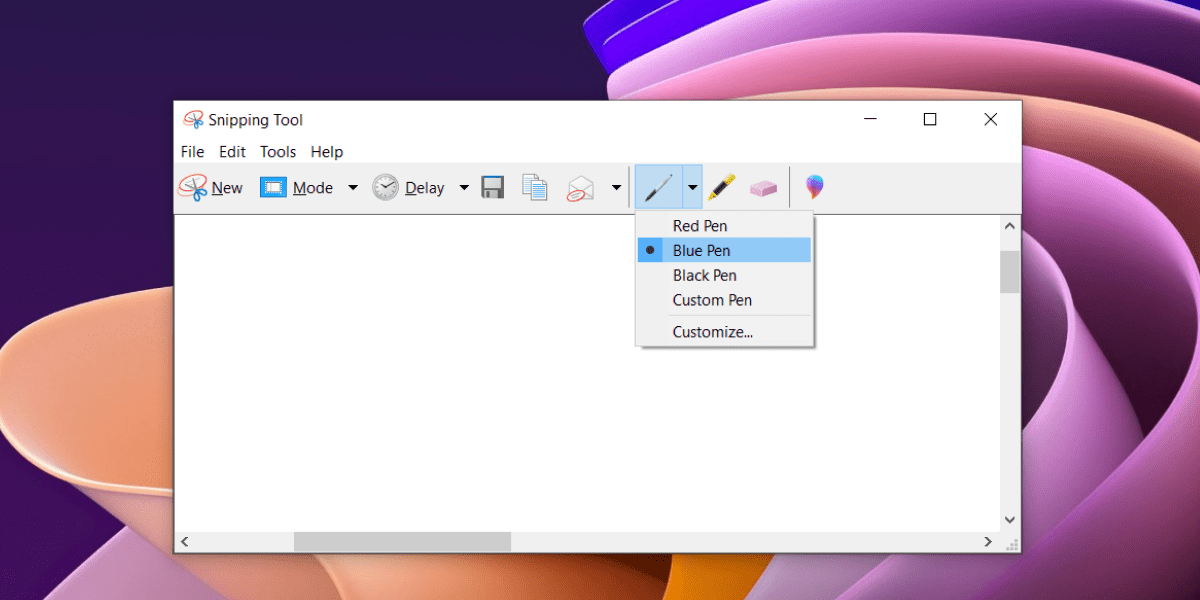
Click on New and select the area of the screen you want to capture.
-
Use annotation tools to add text, shapes, and highlights to the screenshot for clarity.
-
Save the customized image in your preferred format (e.g., JPEG, PNG) using the save option.
Snipping Tool on Asus is appropriate for individuals who need greater control over their screenshots and provides flexibility in capturing certain areas of the screen.
Additional Insights on Screenshotting
1. Using Shortcuts for Quick Capture
Regardless of the approach you choose, mastering keyboard shortcuts enhances your screenshotting experience. On many Asus laptops, using the PrtSc key alone captures the entire screen, and Alt + PrtSc captures only the active window, streamlining the process for efficient and time-saving screenshotting on Asus laptops.
2. Editing and Annotating Screenshots
Taking a screenshot is often just the first step. For a variety of reasons, many users feel the need to alter and annotate their screenshots. While built-in programs like Snip & Sketch or third-party apps provide more sophisticated annotation options, basic image editors like Paint may be utilized for straightforward modifications. Knowing how to use these editing tools will enable you to improve and alter your screenshots to suit your needs.
3. Organizing and Managing Screenshots
Keeping your screenshots organized and managed becomes crucial as you take more and more of them. When locating certain images, you may find them more quickly if you create specialized folders for each kind of snapshot or give them meaningful file names. For more sophisticated file management, make use of third-party applications or Windows’ built-in file-organizing functions.
4. Cloud Storage for Easy Access
For convenient access to your screenshots on your Asus from different devices, consider utilizing cloud storage services. Store your screenshots in the cloud using platforms like Google Drive, Dropbox, or Microsoft OneDrive, enabling easy viewing from any location with an internet connection.
Conclusion
Gaining proficiency in capturing screenshots on your Asus laptop will enable you to easily record and share images. You have a variety of alternatives to fit your requirements, whether you like the built-in print screen on Asus or the effectiveness of third-party tools like Screenpixel. Try out these techniques to see which one works best for your workflow.
Frequently Asked Questions (FAQ)
-
How do I screenshot on an Asus laptop?To capture screenshots on Asus laptops, use the dedicated Print Screen (PrtSc) key, employ third-party software like Screenpixel for efficiency, or utilize the Snipping Tool for enhanced control and annotation. Alternatively, by pressing two mouse buttons simultaneously, you can activate the screenshot function. Choose the method that best suits your preference and needs.
-
Where do I find my screenshots on my Asus laptop?The location of your screenshots depends on the method you used:
1. If you used the Print Screen (PrtSc) key or a third-party program like Screenpixel, the screenshot is typically copied to the clipboard. Open an image editor, paste it, and then save to your preferred location.
2. If you utilized the Snipping Tool, the short link to the screenshot is copied to the clipboard. You can paste it into a browser to view and download the image.
3. For screenshots taken with the Xbox Game Bar, they are usually saved to the Captures folder in the Videos library.
When using any of these methods, you often have the option to choose the destination folder for saving the captured screenshot. Adjust the settings based on your preferences. -
How do I edit and annotate screenshots on an Asus laptop?You may utilize third-party image editors or the built-in Paint tool for simple editing. During the screenshot capture process, you may annotate the screenshot if you utilize Snipping Tool or Snip & Sketch. For more advanced editing, third-party programs like Screenpixel offer annotation tools with a simple interface, providing options like pen, numbering, squares, blur, and more.
