On Dell laptops and desktop computers, taking a screenshot can be a quick and efficient way to save or share what’s on your display. Whether you need to capture an error message to send to tech support, save a memorable image, or create a tutorial, knowing how to screenshot on Dell computers is a valuable skill.
Method 1: Using Screenpixel
Once installed, Screenpixel offers a seamless experience whether you’re capturing images or recording video with sound.
How to Use Screenpixel
Installation
Downloading and installing Screenpixel is a breeze. Simply visit the Screenpixel website, download the setup file, and follow the on-screen instructions.
Taking a Screenshot
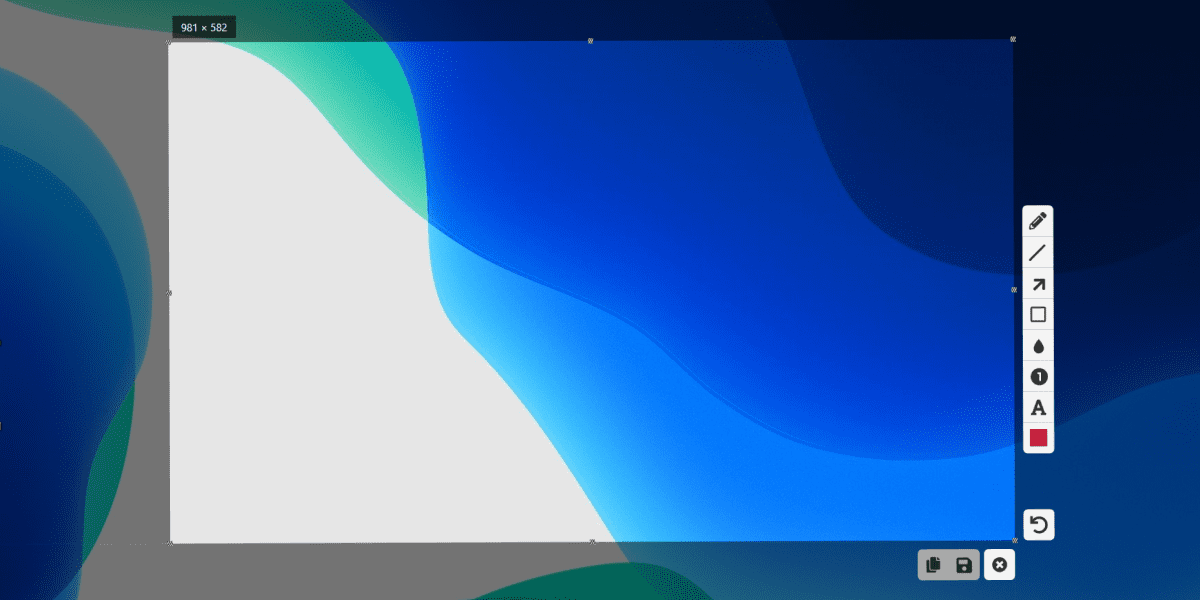
To take a screenshot on your Dell computer using Screenpixel, you don’t need to memorize any complicated keyboard shortcuts.
-
Just press two mouse buttons simultaneously to activate the tool. Once activated, you have the flexibility to select either the entire screen or a specific area for capturing on your Dell computer.
-
After you've selected the desired area, release the mouse buttons, and your screenshot is captured.
-
To copy the screenshot, simply press Ctrl+C.
This streamlined process makes Screenpixel an efficient tool for anyone needing to take a screenshot on a Dell computer, whether for work, education, or personal use.
Inserting Screenshots
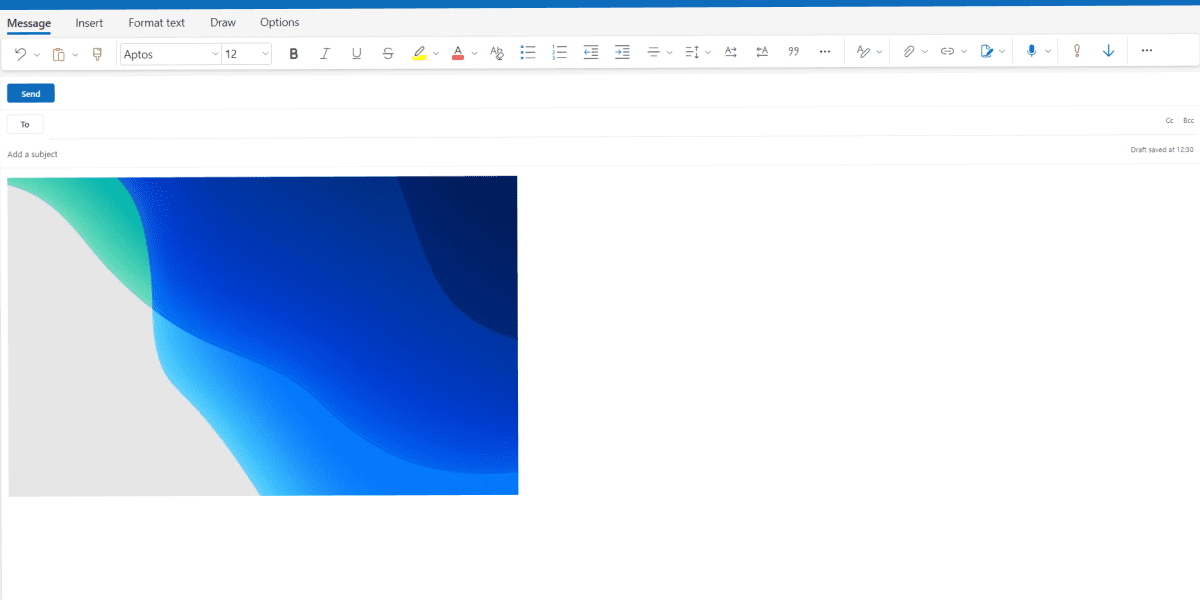
Once you’ve copied your screenshot with Ctrl+C, you can paste it into messengers, documents, or any other program that supports image insertion, by pressing Ctrl+V
Sharing
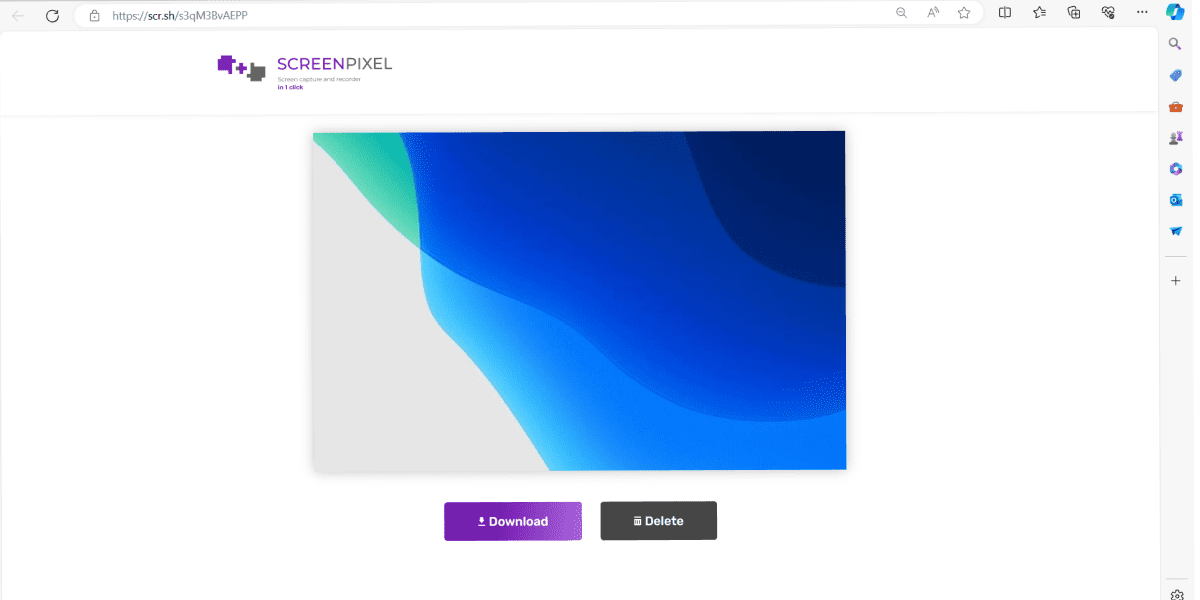
With Screenpixel, as soon as you capture a screenshot or record a video, a link is generated, which you can share with anyone. This feature is particularly useful for quick collaboration and sharing of visual information.
Method 2: Using Print Screen
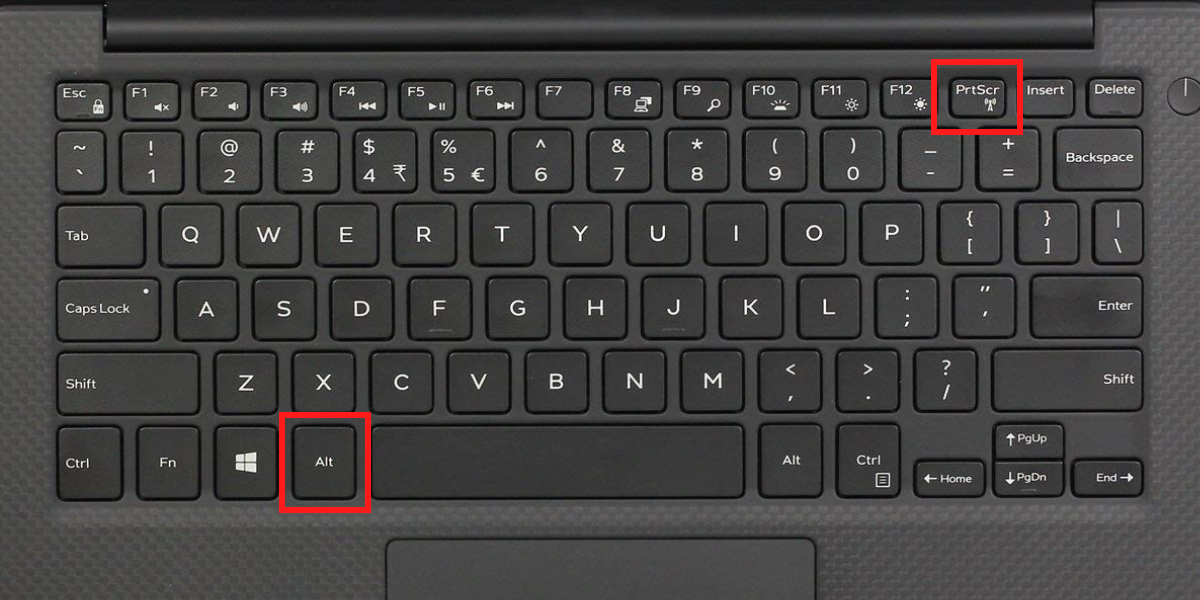
Print Screen on Dell keyboards, often abbreviated as “PrtScn” or “PrtSc” is a quick and efficient method to capture screenshots on Dell computers. This key is typically located near the top right of the keyboard and is a standard feature on most Dell laptops and desktops.
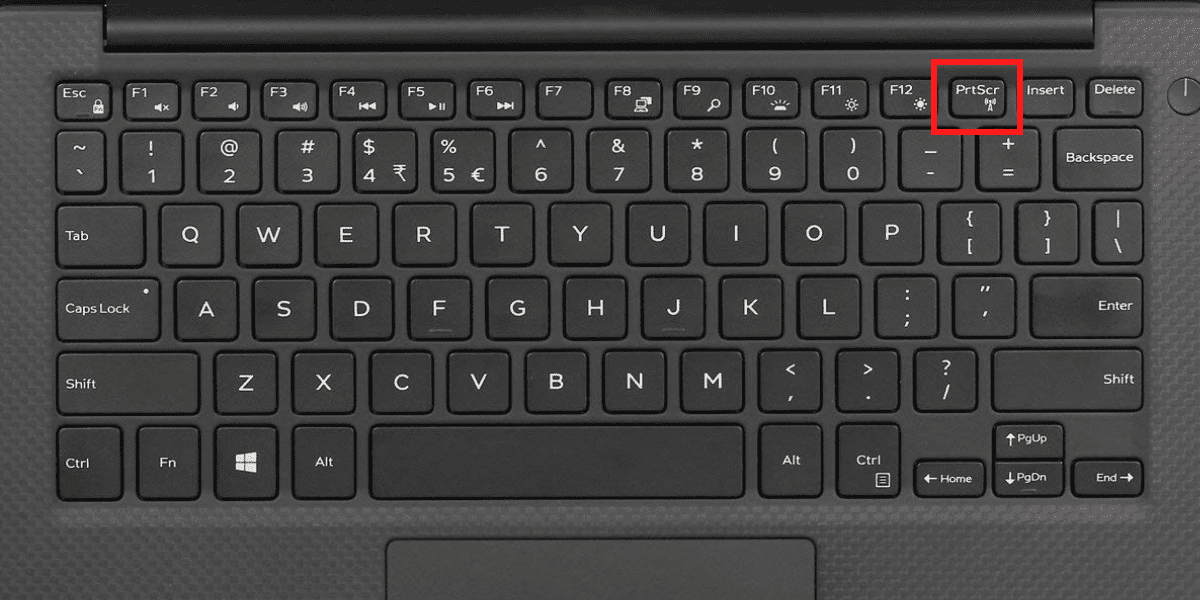
Using the Print Screen key allows you to capture the entire screen or a specific window, making it a versatile tool for various screenshot needs.
How to Take a Screenshot Using Print Screen on Dell Keyboards
Capturing the Entire Screen
-
To capture your entire screen, simply press Print Screen on the Dell keyboard. This action takes a snapshot of everything visible on your monitor.
-
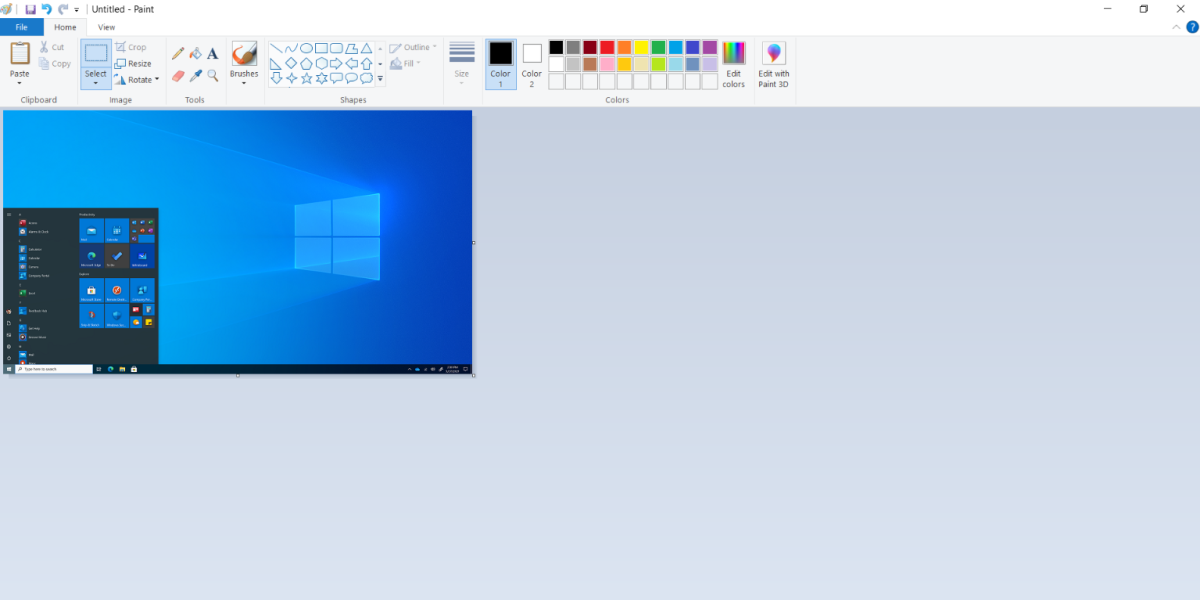
Once pressed, the screenshot is copied to your clipboard. It won't be saved as a file automatically, but you can paste it into an image editing tool (like Paint or Photoshop) or a document.
-
To paste the screenshot, open the desired application and press Ctrl + V or select the paste option from the menu.
Capturing a Specific Window
-
To capture just one specific window, first ensure that the window you want to capture is in focus. Click on it to bring it to the foreground if necessary.
-
Hold down the Alt key and then press the Print Screen key. This combination captures only the active window, ignoring any other windows or background elements.
-
Similar to capturing the entire screen, this screenshot will also be copied to your clipboard. Paste it into an image editor or a document by using Ctrl + V.
Using the Print Screen key is a straightforward and efficient way to take screenshots on Dell computers.
Method 3: Using the Snipping Tool
The Snipping Tool on Dell laptops is a powerful, built-in application on computers running Windows, designed to take screenshots in various formats. This tool is especially useful for those who need more flexibility than the traditional Print Screen method offers. With the Snipping Tool, you can capture a specific region of your screen, a single window, or the entire screen, and it also allows for some basic editing like annotating or highlighting parts of the screenshot.
How to Use The Snipping Tool
Launching the Snipping Tool
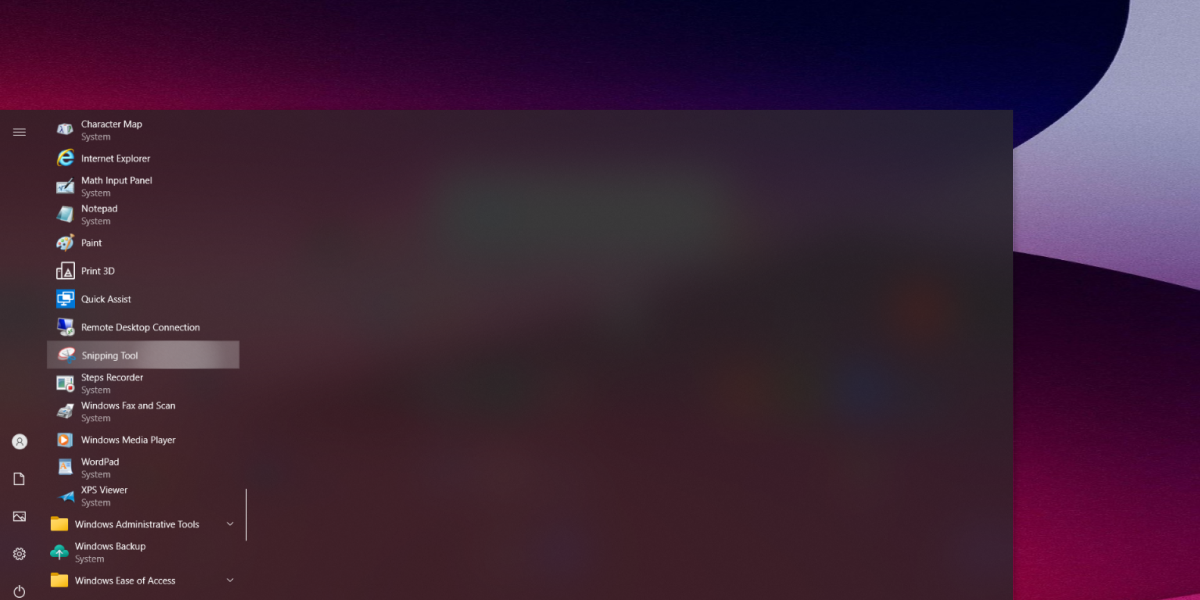
To open the Snipping Tool on Dell laptops, click on the Start menu and type Snipping Tool in the search bar. Click on the application to launch it.
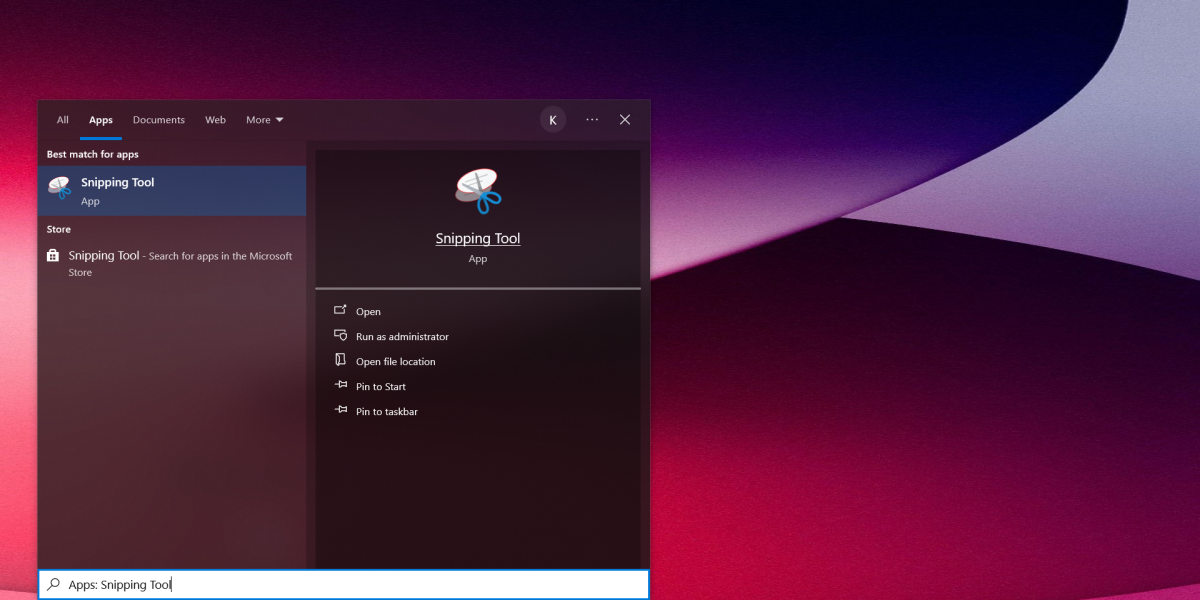
Alternatively, you can find it under the Windows Accessories folder in the Start menu.
Choosing the Type of Screenshot
Once the Snipping Tool is open, click on the Mode button (in some versions, you may need to click on the arrow next to New). You will see several options:
-
Free-form Snip: Draw a free-form shape around an object.
-
Rectangular Snip: Drag the cursor around an object to form a rectangle.
-
Window Snip: Select a window, such as a browser window or dialog box, that you want to capture.
-
Full-screen Snip: Capture the entire screen.
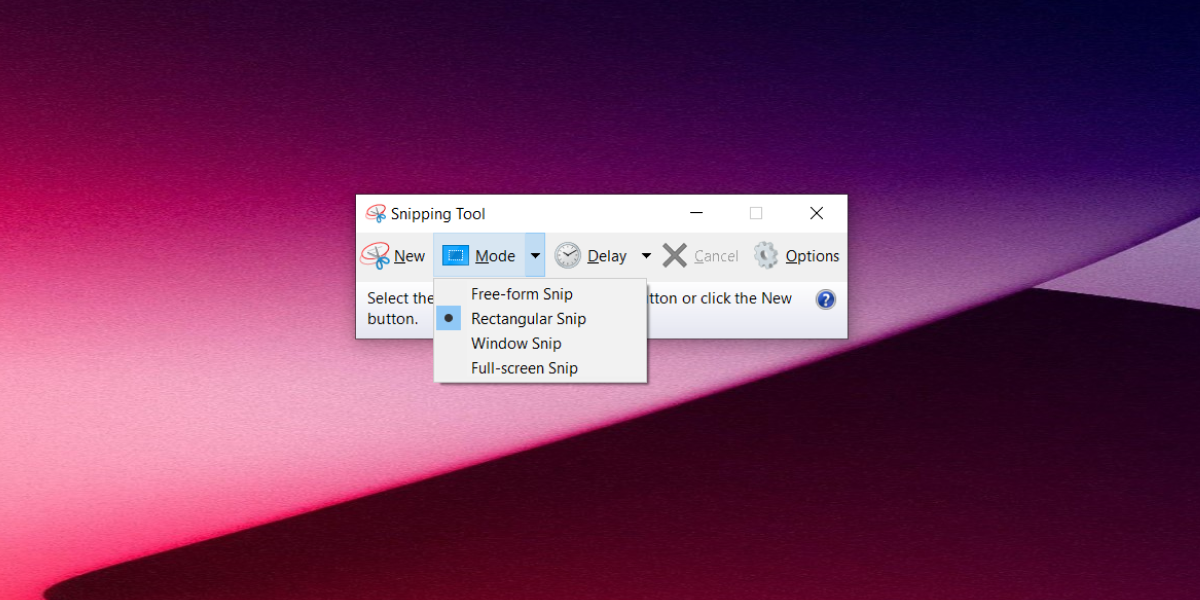
Select the option that best fits your needs.
Capturing the Screenshot
After selecting your desired mode, the screen will fade slightly, indicating that you can create your snip.
-
If you chose Free-form or Rectangular Snip, click and drag your mouse to define the area to capture.
-
For Window Snip, click on the window you want to capture.
-
The Full-screen Snip mode will capture the entire screen immediately upon selection.
Editing and Saving the Screenshot
Once you have captured a snip, it will open in a new window where you can make basic edits like annotating, highlighting, or erasing parts of the screenshot.
To save the screenshot, click on the floppy disk icon or go to File > Save As. Choose your desired location, name the file, and select a file format (like PNG, JPEG, or GIF).
The Snipping Tool is an invaluable resource for Dell computer users who need to capture and annotate screenshots for tutorials, presentations, or simply sharing information. Its ease of use and range of features make it a versatile tool for various screen capture needs.
Conclusion
Each method has its unique advantages, and the choice largely depends on what fits best with your workflow and screenshot requirements. Remember to consider the ease of saving and sharing screenshots, as these are crucial aspects of the process.
As technology continues to evolve, the ability to capture information quickly and efficiently remains a valuable skill in navigating the digital world. Whether for professional documentation, educational purposes, or personal use, mastering these screenshot methods on your Dell computer will undoubtedly enhance your productivity and digital communication.
We hope this guide has provided you with valuable insights and tools on how to take the perfect screenshot on Dell laptops and desktops.
Frequently Asked Questions
-
How to Screenshot on Dell Windows Computers?
- Using Screenpixel: This tool allows you to take a screenshot or record a video with a simple click of two mouse buttons or a shortcut.
- Using the Print Screen Key: Press the Print Screen key to capture your entire screen, or Alt + Print Screen to capture only the active window.
- Using the Snipping Tool: This built-in tool in Windows offers various snipping modes, including free-form, rectangular, window, and full-screen snips.
-
Where to Find the Saving Location?Print Screen Key: By default, screenshots taken using the Print Screen key are not automatically saved as files. They are copied to the clipboard and need to be pasted into an image editor or document and saved manually.
Snipping Tool: After capturing a screenshot with the Snipping Tool, you can choose where to save it by clicking the save button and selecting the desired location on your computer.
Screenpixel: For Screenpixel users, the default saving location is the local storage on your computer. However, you can customize this in the settings, including options to save to a server. -
How to take a Screenshot of an Active Window?Ensure the Window is Active: Click on the window that you want to capture to make sure it is in focus.
Use the Print Screen Key: Press Alt + Print Screen. This will capture only the active window.
Save the Screenshot: The captured image is copied to your clipboard. Open an image editing tool or a document, and press Ctrl + V to paste the screenshot. You can then save it from the application you've pasted it into.
