
Toshiba laptops, renowned for their reliability and performance, particularly the Dynabook Satellite Pro, are equipped with features that simplify the process of taking screenshots.
However, for those looking to elevate their screenshot game, Screenpixel emerges as a game-changer. This tool not only simplifies capturing your screen but also streamlines the sharing process, making it a must-have for professionals seeking efficiency and convenience.
Use Screenpixel to Screenshot on a Toshiba Laptop
Screenpixel stands out as an innovative solution that enhances the screenshot experience on Toshiba laptops. This tool is designed to be intuitive, making it accessible for users of all tech levels.
Whether you’re capturing a bug for a report, documenting an important step in a tutorial, or saving critical trading data, Screenpixel ensures that taking and sharing screenshots is easy.
Getting Started with Screenpixel
-
Download and Install: The first step is to visit the official Screenpixel website. Here, you'll find a straightforward download option. Once the download is complete, follow the installation prompts to get Screenpixel up and running on your Toshiba laptop.
-
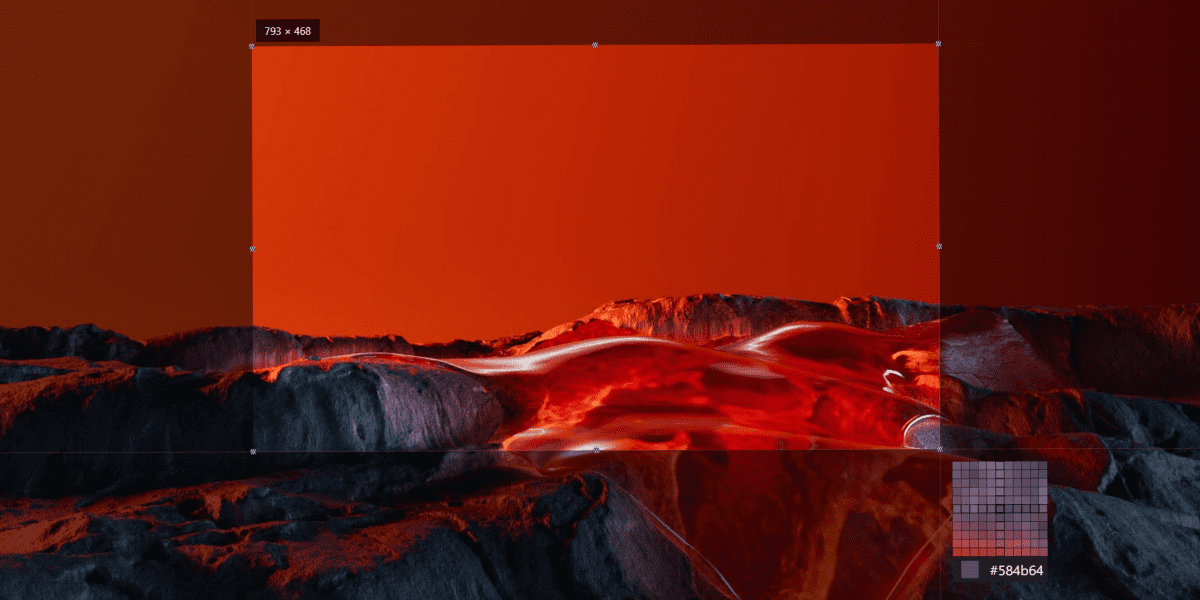
Capture Your Screen: With Screenpixel running, taking a screenshot is as easy as pressing two mouse buttons simultaneously. This simple action activates Screenpixel's capture mode, allowing you to select the exact area of your screen you wish to capture.
-
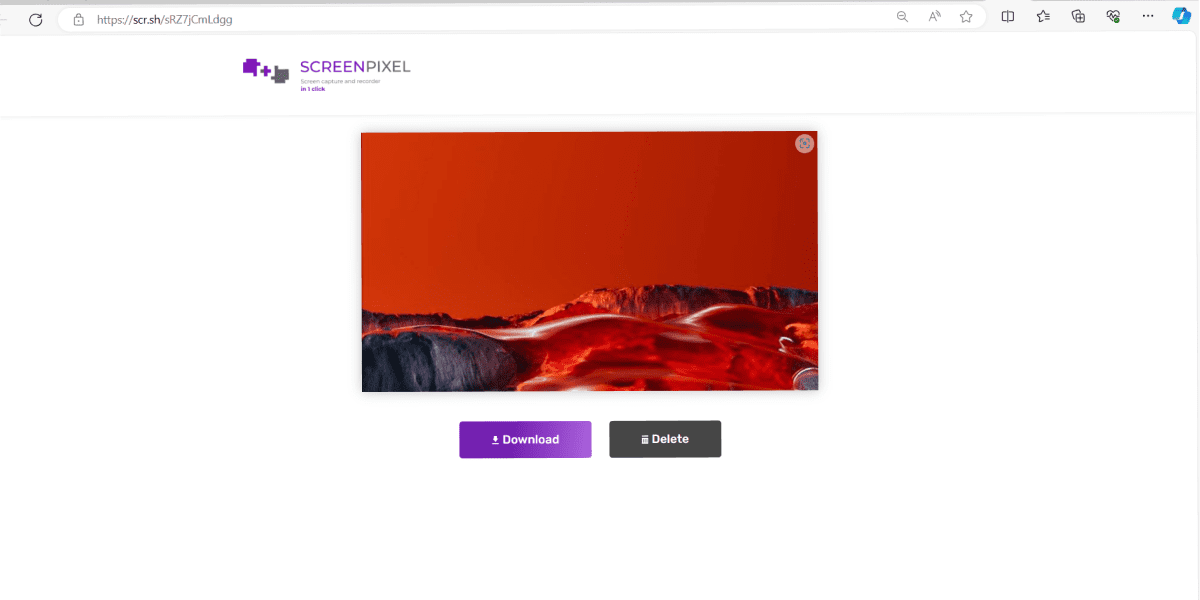
Instant Sharing: Once you've captured your screenshot, Screenpixel doesn't just save the image; it provides a unique functionality. Pressing Enter automatically generates a short link to your screenshot, which is immediately copied to your clipboard. This link can be shared with anyone, ensuring that your captured content is easily accessible, without the need to navigate through folders or attach files in emails.
Screenpixel’s standout feature of generating a direct link for easy sharing eliminates the cumbersome process of manually saving, finding, and attaching screenshots. This efficiency is particularly beneficial for professionals who rely on swift communication and collaboration.
Whether you’re a project manager coordinating with your team, a web developer sharing bug reports, or a freelancer presenting work to a client, Screenpixel ensures your screenshots are just a click away from being shared, making your workflow smoother and more productive.
Use the Print Screen Method
One of the simplest yet most effective ways to take a screenshot on a Toshiba laptop is by utilizing the Print Screen (PrtScn) key. This method is perfect for capturing a snapshot of your entire screen or just an active window, catering to the needs of a wide range of tasks from documentation to communication.
Capturing Your Screen
-
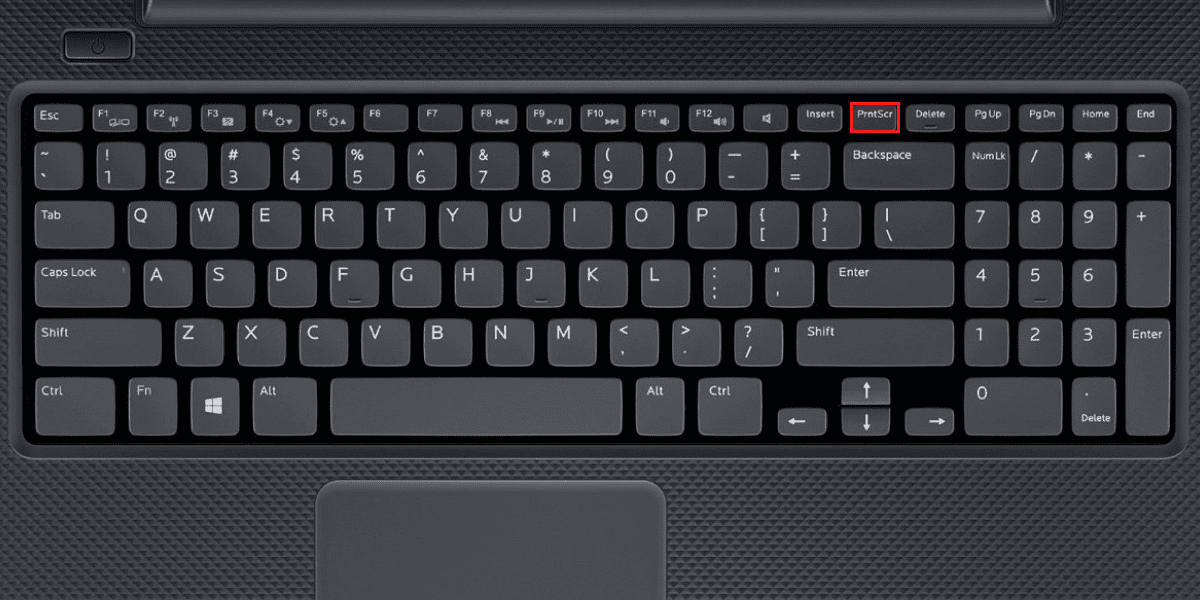
Entire Screen: For a full-screen capture, simply press the PrtScn key. This action copies the entire screen to your clipboard.
-
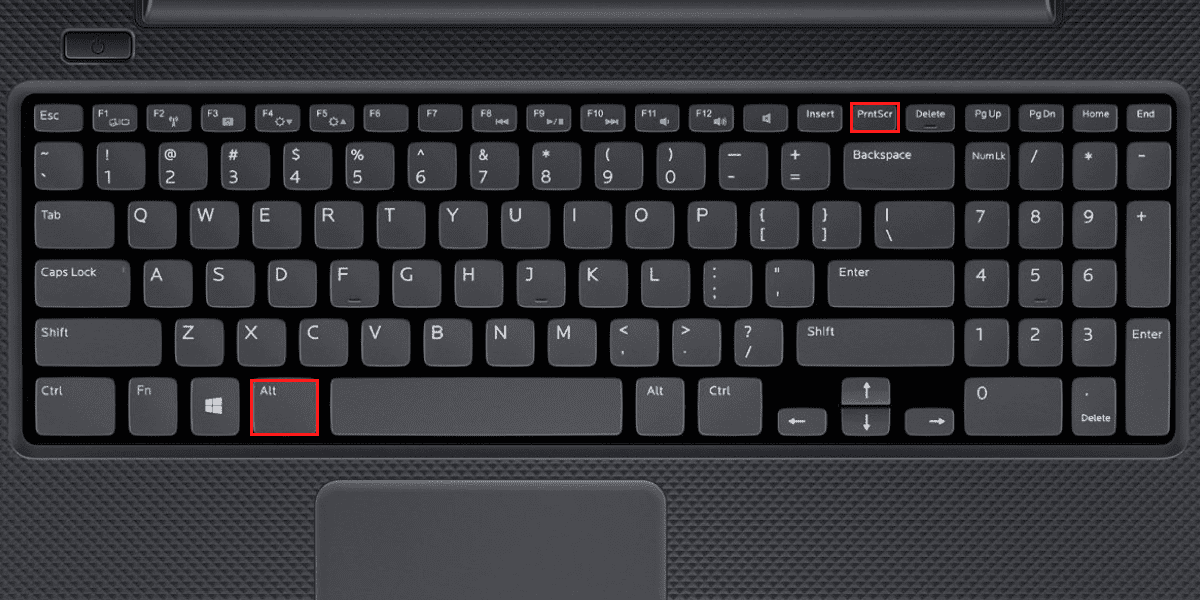
Active Window: To capture just the active window, hold down the Alt key and then press the PrtScn key. This method ensures that only the content of your current focus is captured, making it ideal for specific documentation or reporting needs.
Saving Your Screenshot
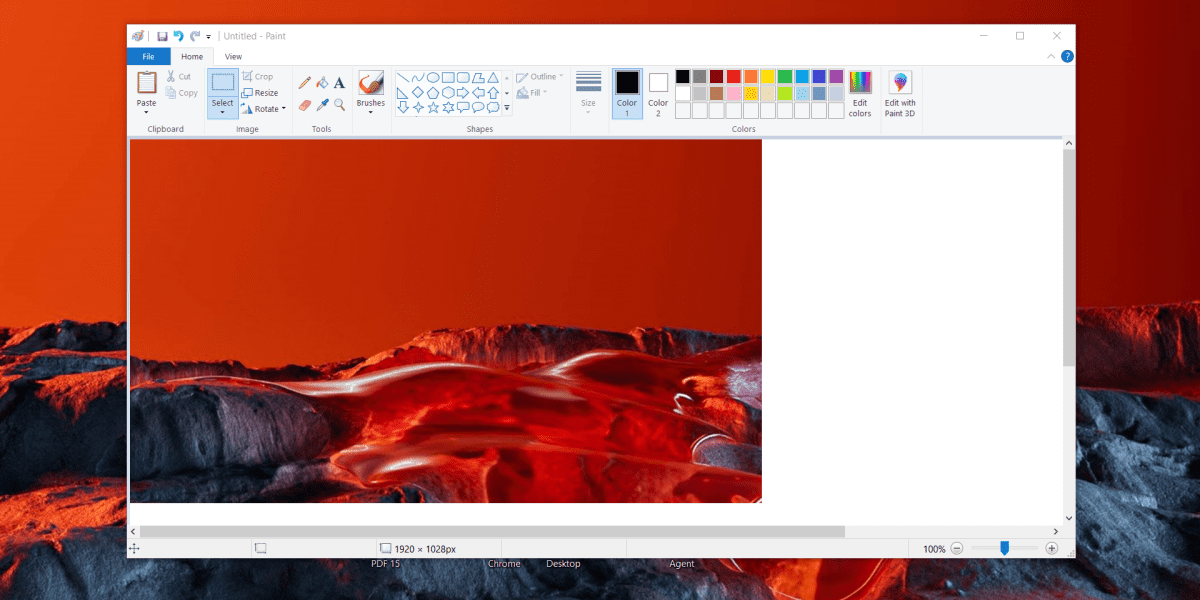
Once you’ve captured your screenshot using the Print Screen method, the next step is to save it. This is where a program like Paint comes in handy.
-
Open Paint or a similar photo editing software.
-
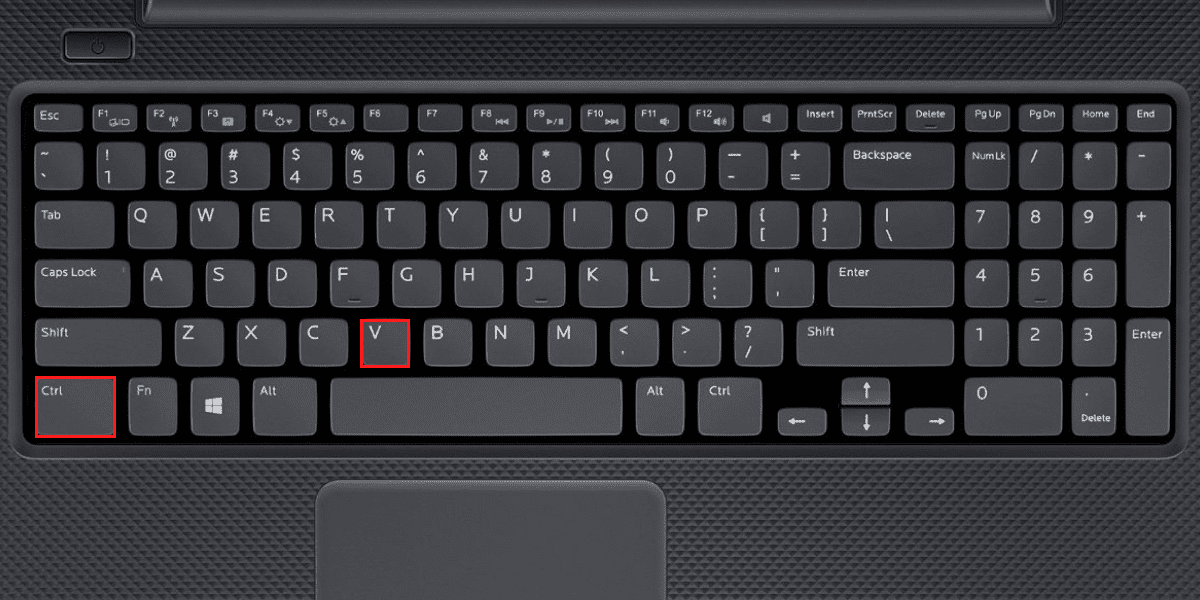
Paste the screenshot from your clipboard into Paint by pressing Ctrl + V.
-
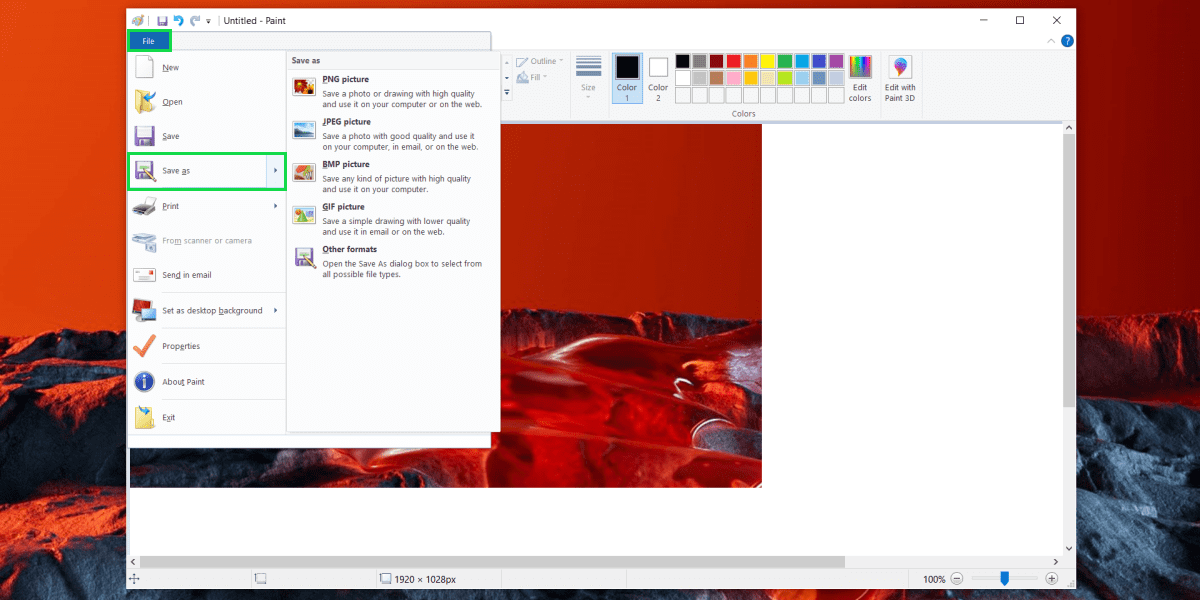
You can now edit, annotate, or simply save the screenshot by navigating to File > Save As and choosing your desired file format and location.
The integration with Windows makes the Print Screen on a Toshiba laptop method a seamless and efficient way to capture screenshots, ensuring that you can quickly capture and save any important information displayed on your screen.
Use the Snipping Tool
For those who require more flexibility in their screen captures, Windows offers the Snipping Tool, a built-in feature that allows for custom screenshots. This tool is particularly useful for capturing a specific portion of the screen, a window, or even a free-form area.
Opening the Snipping Tool
-
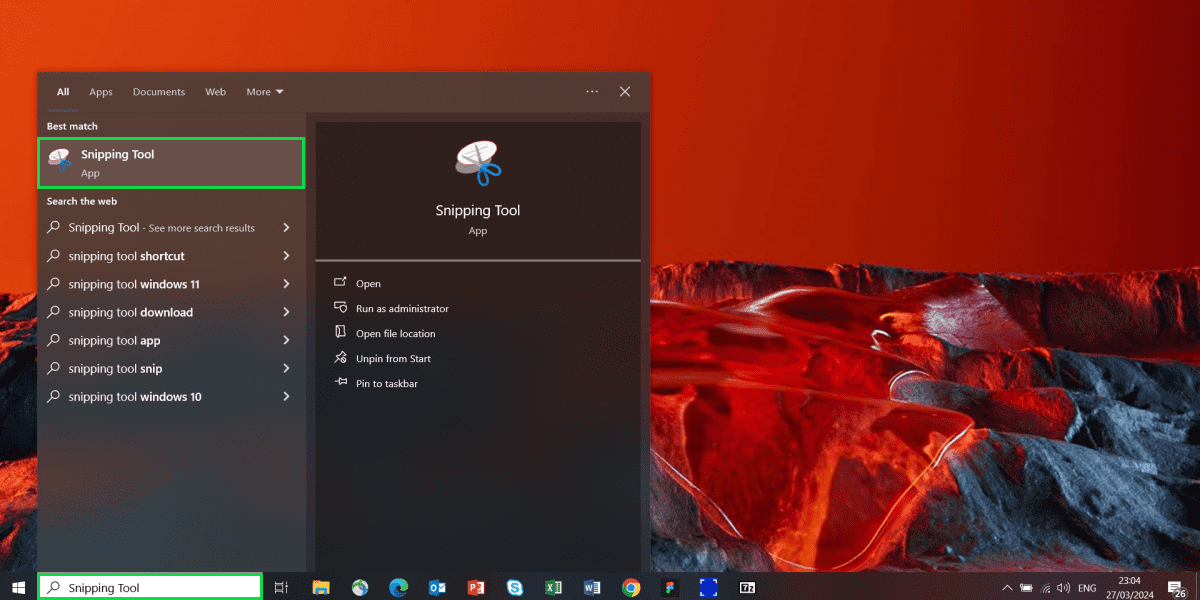
To launch the Snipping Tool, type Snipping Tool into the Windows search bar and select it from the search results.
-
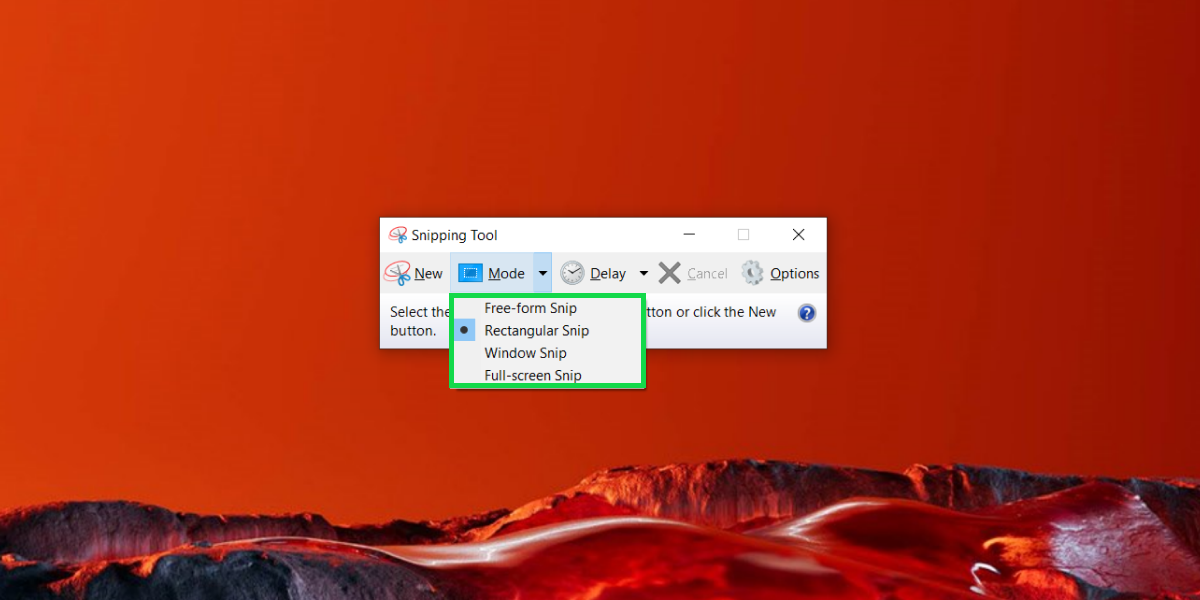
Once open, you'll find options to choose the type of snip you'd like to make: Free-form, Rectangular, Window, or Full-screen.
Using the Snipping Tool
-
Select the Mode: Choose from one of the four snipping modes based on your needs. The Free-form Snip allows for drawing any shape with your mouse. The Rectangular Snip is perfect for capturing a specific section. The Window Snip captures a particular window, and the Full-screen Snip takes a shot of the entire screen.
-
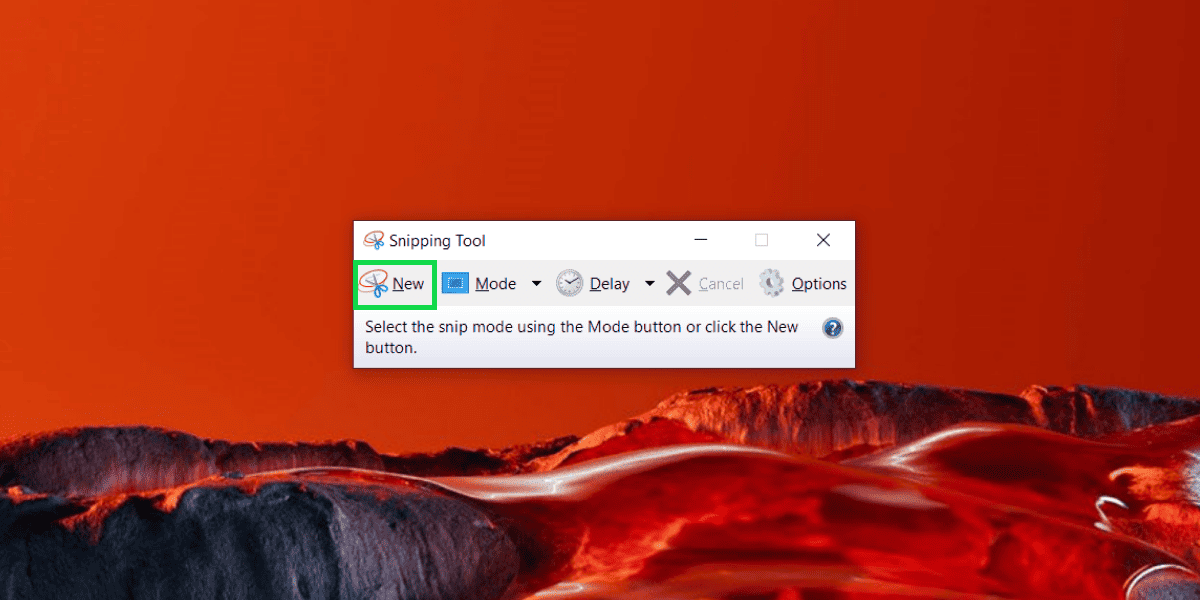
Capture: After selecting your mode, click New in the Snipping Tool window, and then select the area or window you wish to capture.
-
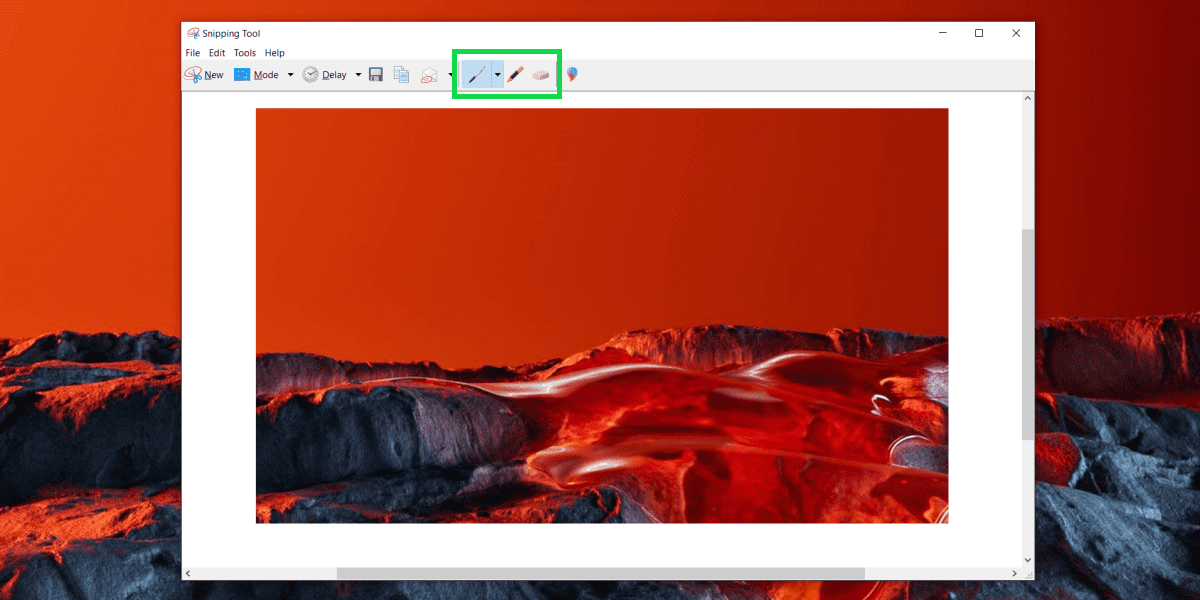
Edit and Save: The Snipping Tool then opens the captured snippet in a new window, where you can use the built-in editing tools to annotate or highlight important information. Once you're satisfied, save the screenshot by clicking File > Save As and choosing your desired location and format.
The Snipping Tool’s versatility makes it an invaluable asset for Toshiba laptop users, offering more control over what is captured and enabling immediate editing and annotation, thereby streamlining the process of creating and sharing precise and informative screenshots.
Conclusion
In the professional world, where time is of the essence and communication is key, having the right tools to quickly capture and share information is crucial. For Toshiba laptop users, including those with the Dynabook Satellite Pro, the options for taking screenshots are versatile and user-friendly.
Screenpixel, with its straightforward approach to capturing and sharing screenshots via a simple link, revolutionizes the way we share information, making it a standout choice for those who value efficiency. The traditional Print Screen method is a reliable option for quick full-screen captures. The Snipping Tool offers flexibility with its various capture modes, allowing for precise screen captures.
Together, these tools ensure that capturing, saving, and sharing screenshots meets the diverse needs of professionals across industries, simplifying workflow and enhancing productivity.
FAQ
-
How can I screen capture on a Toshiba laptop without a keyboard?Screenpixel offers a mouse-only operation, where you can activate the capture feature with just two clicks. Alternatively, the Windows Snipping Tool can be accessed via the mouse by navigating through the Start Menu or searching for it in the Windows search bar, allowing for flexible screen capture options without needing a keyboard.
-
How can I screenshot on a Dynabook Satellite Pro?● Using Shortcut Keys: Simply press the PrtScn key for a full-screen capture or Alt + PrtScn for an active window capture. For more functionality, Windows + Shift + S activates the Snipping Tool, allowing you to select the specific area you wish to capture.
● Using Screenpixel: Download and install Screenpixel from its official website. Once installed, activate it with two mouse clicks to enter capture mode. Select your desired area for the screenshot, and upon pressing Enter, a shareable link is immediately created and copied to your clipboard, ready for use. -
Can I take a screenshot of a specific area on a Dynabook?Yes, capturing a specific area of your screen on the Dynabook is achievable with tools like the Snipping Tool and Screenpixel.
● Snipping Tool: Open the tool, select New, and then choose the Rectangular Snip or Free-form Snip option. Drag your mouse over the area you wish to capture.
● Screenpixel: After opening Screenpixel, use the mouse to activate the capture mode. You can then freely select the specific area you want to screenshot. This not only captures the selected area but also offers the convenience of instantly generating a shareable link for the captured content.
