In this article, we’ll look at strategies specific to the demands of experts in various areas.
How to Use Screenpixel to Take a Screenshot of a Part of the Screen
Screenpixel is a lightweight Windows program that makes capturing a partial screenshot easier. Here’s how you can use it:
-
Download and install Screenpixel from the official website. The installation process is quick and simple.
-
Launch Screenpixel. To take a screenshot, simultaneously press and hold the left and right mouse buttons.
-
Drag your mouse around the screen to select the part of the screen you wish to capture.
-
To take a screenshot, release the mouse buttons. The screenshot is automatically transferred to the clipboard.
-
Finally, hit Ctrl + V to paste the screenshot into a messenger or document.
How to Use Snip & Sketch to Take a Partial Screenshot on Windows
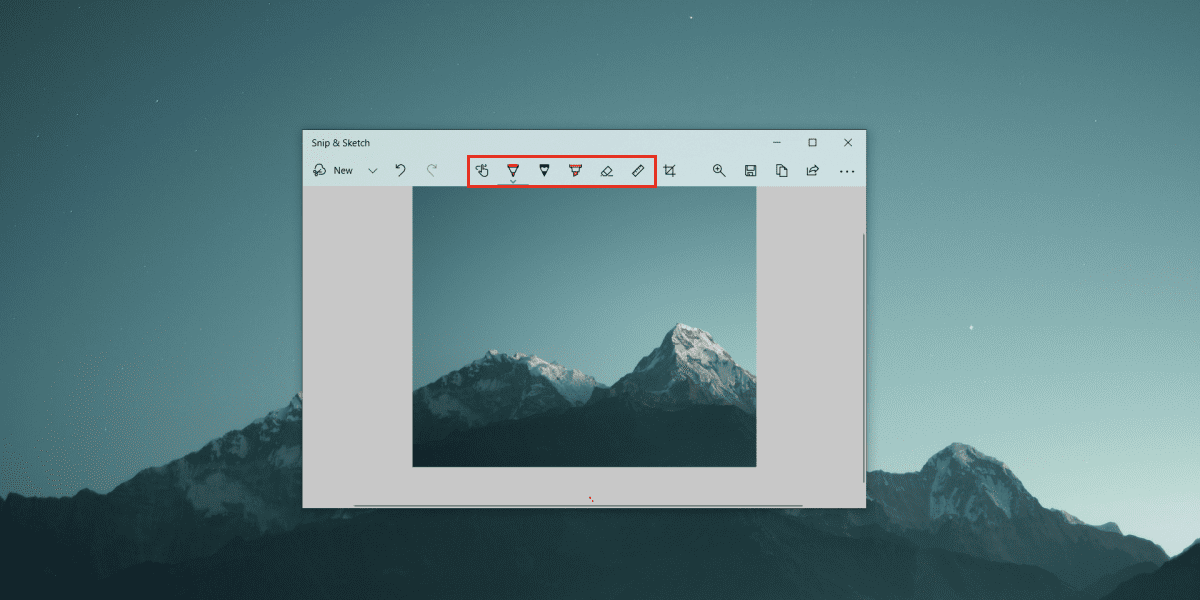
Snip & Sketch is a great Windows software for capturing snippets. This application provides essential editing tools. It allows you to draw screenshots with a pen, pencil, and highlighter. You can use a ruler to draw a straight line on your image. You can crop your screenshot as needed.
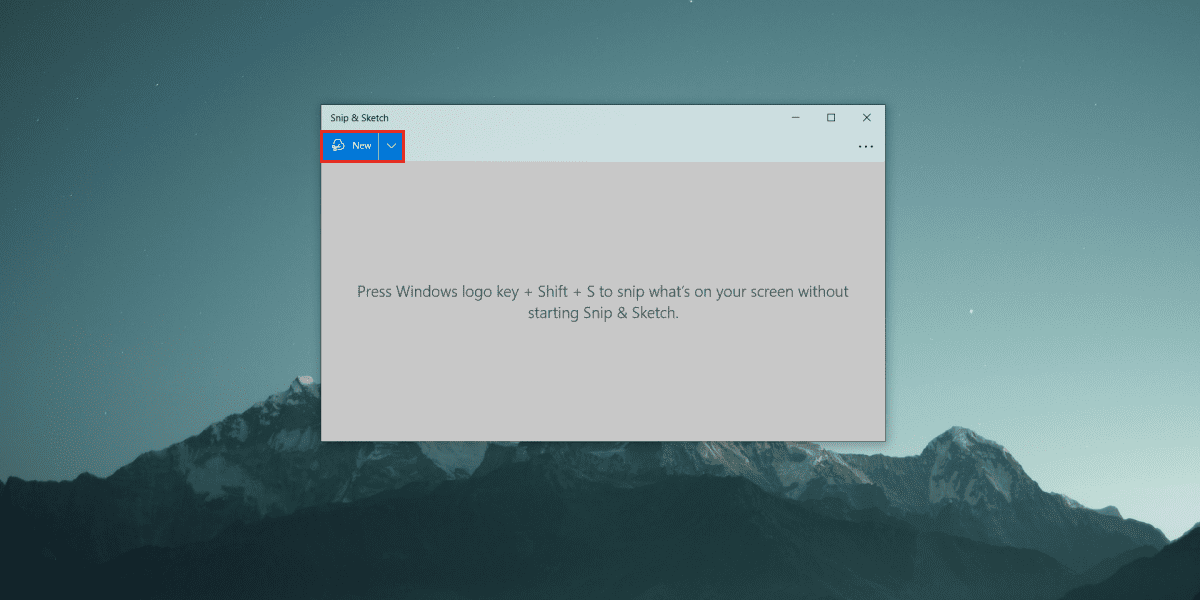
Here’s how to use Snip & Sketch on Windows to capture partial screenshots:
-
Open the program and select New.
-
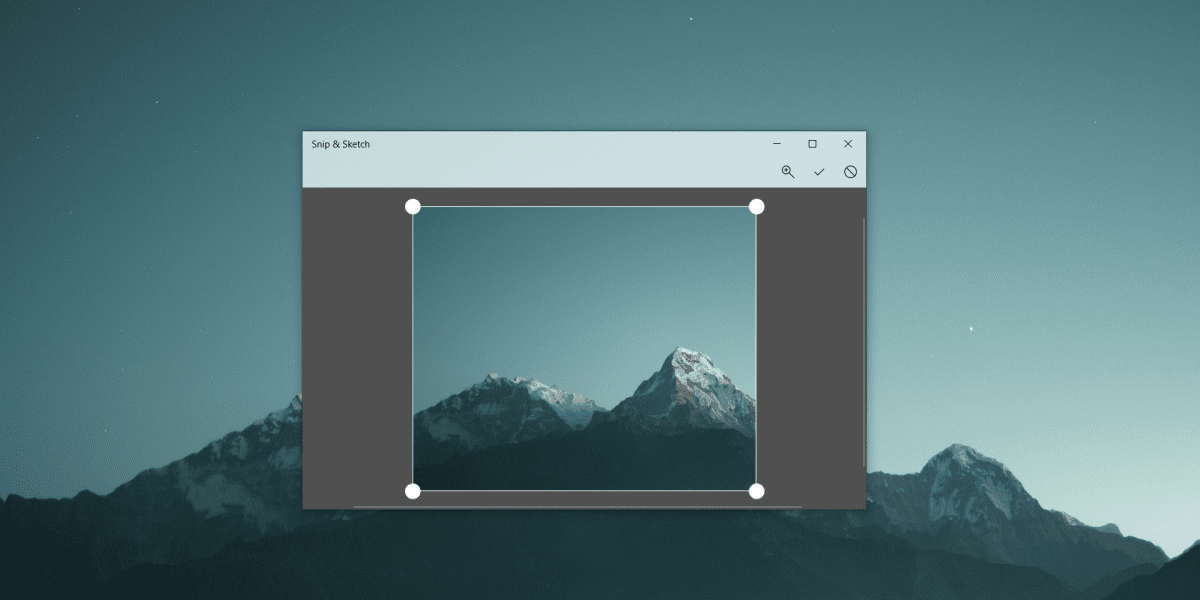
Choose the part of the screen you want to capture.
-
Annotate and crop the screenshot as needed.
-
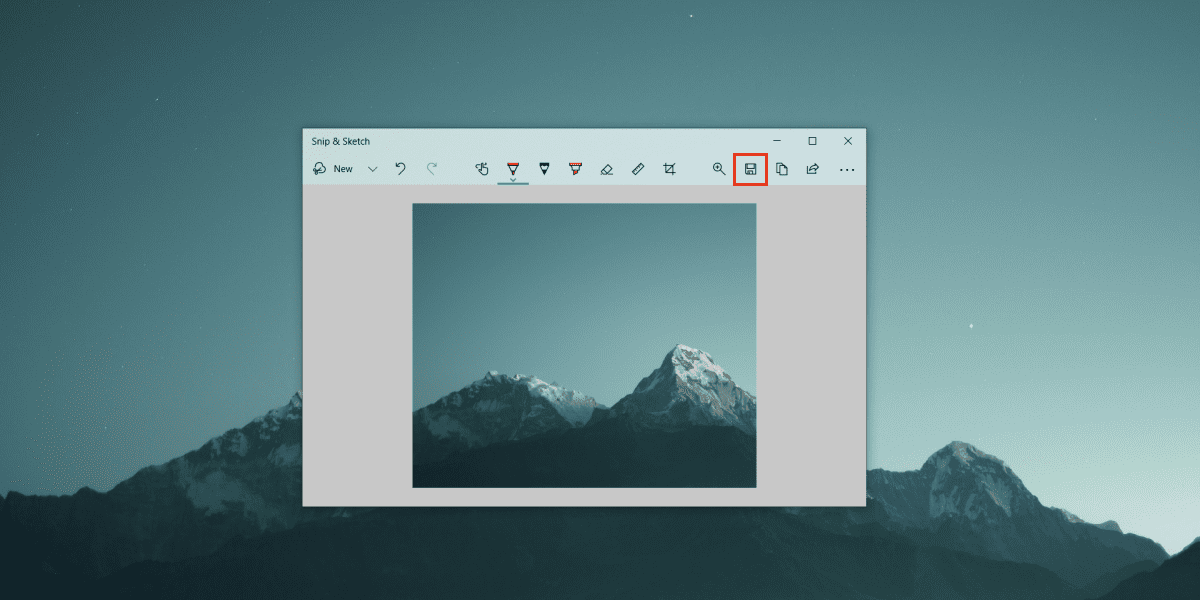
Then, click Save As and choose the folder to save the snippet.
How to Use the Snipping Tool to Screenshot Selectively
Another built-in tool in Windows, the Snipping Tool, is popular among Windows 7 and 8 users. Similar to the Snip & Sketch tool, it allows you to take a partial screenshot of Windows in various modes.
Furthermore, the Snipping Tool includes key shortcuts for rapid screenshots on Windows. Surprisingly, this seemingly old technology allows for delayed screenshots.
To use the Snipping Tool:
-
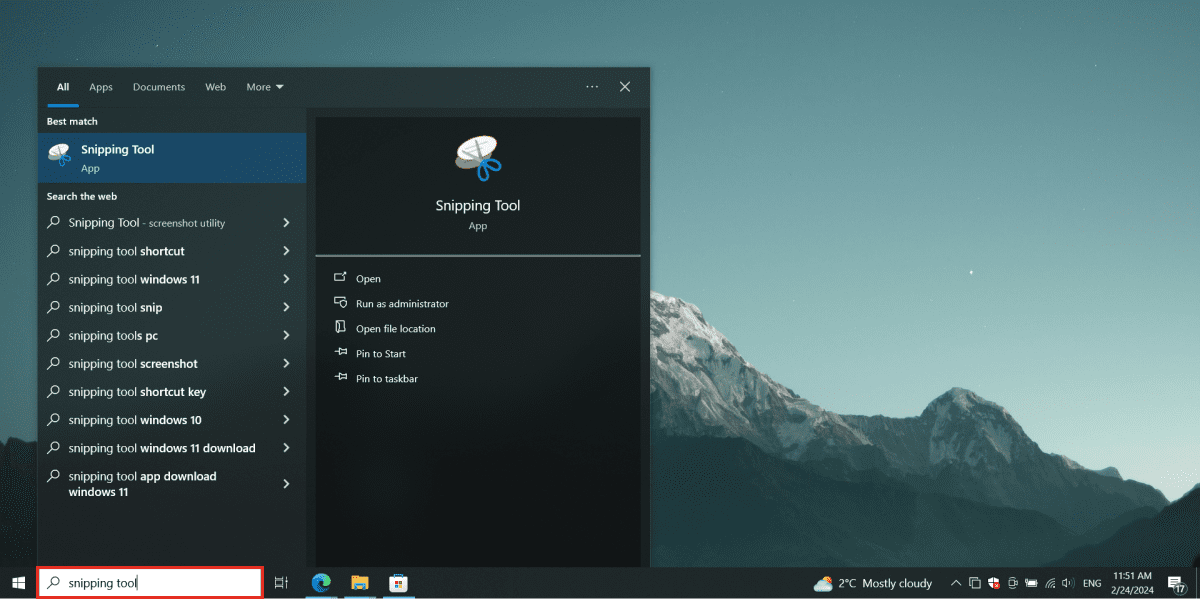
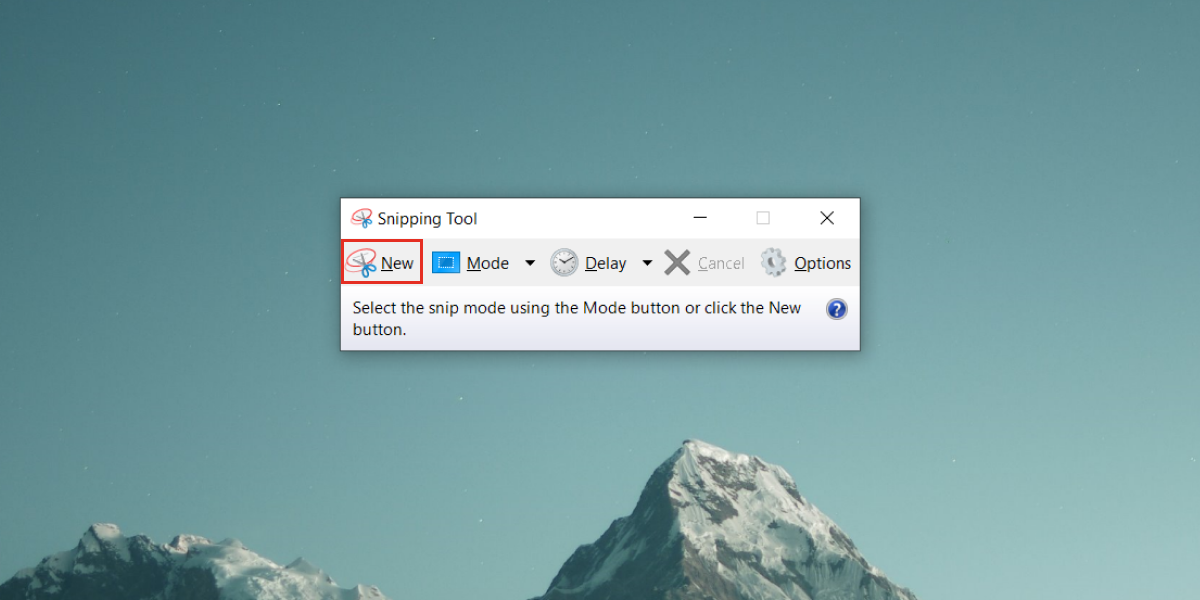
To run it, type Snipping Tool into the Windows search box and then press the Enter key.
-
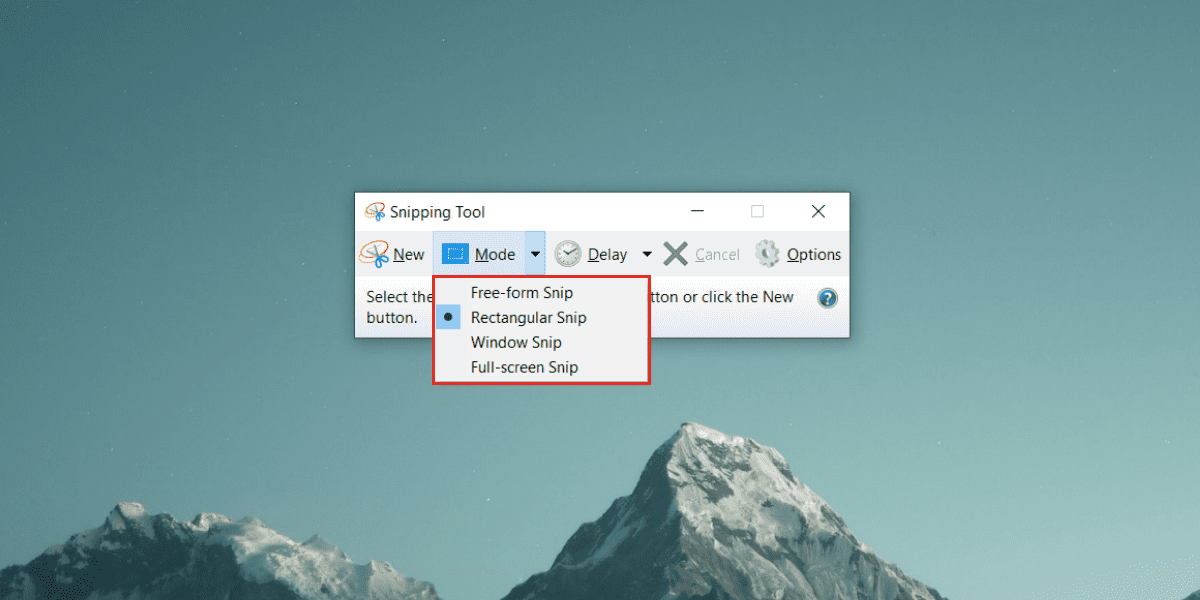
By default, Rectangular Snip is chosen. Click New to capture a partial screenshot, or select a different mode by clicking the Mode button on the main page.
-
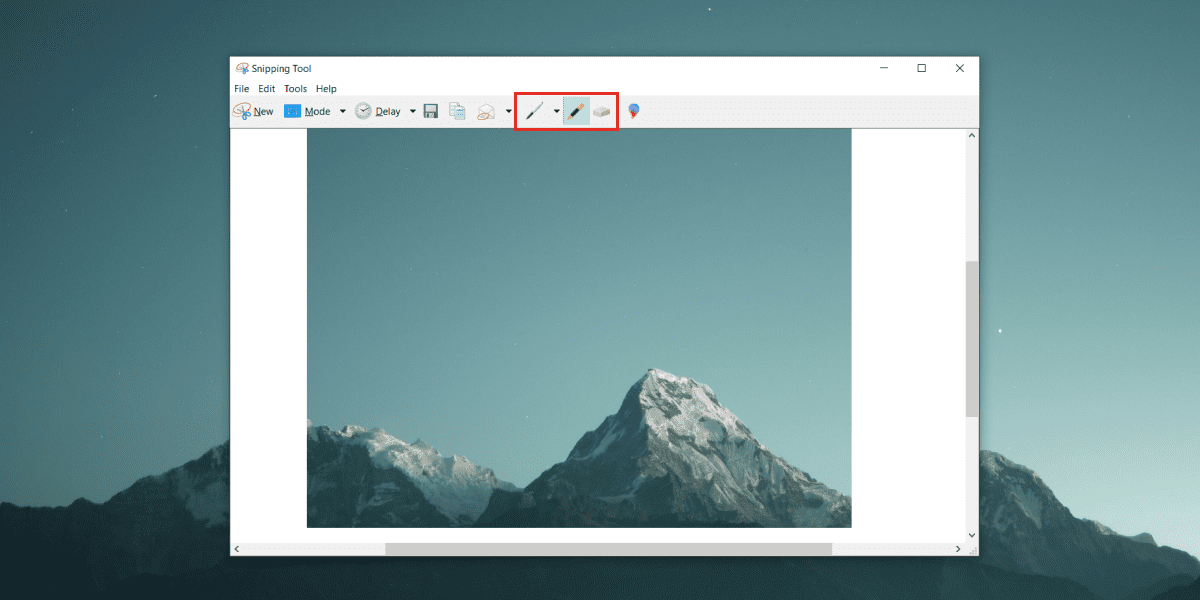
Next, drag your mouse cursor to select the area you wish to capture.
-
You’d see the screenshot open in the Snipping Tool's built-in annotation tool, where you can make changes as needed.
-
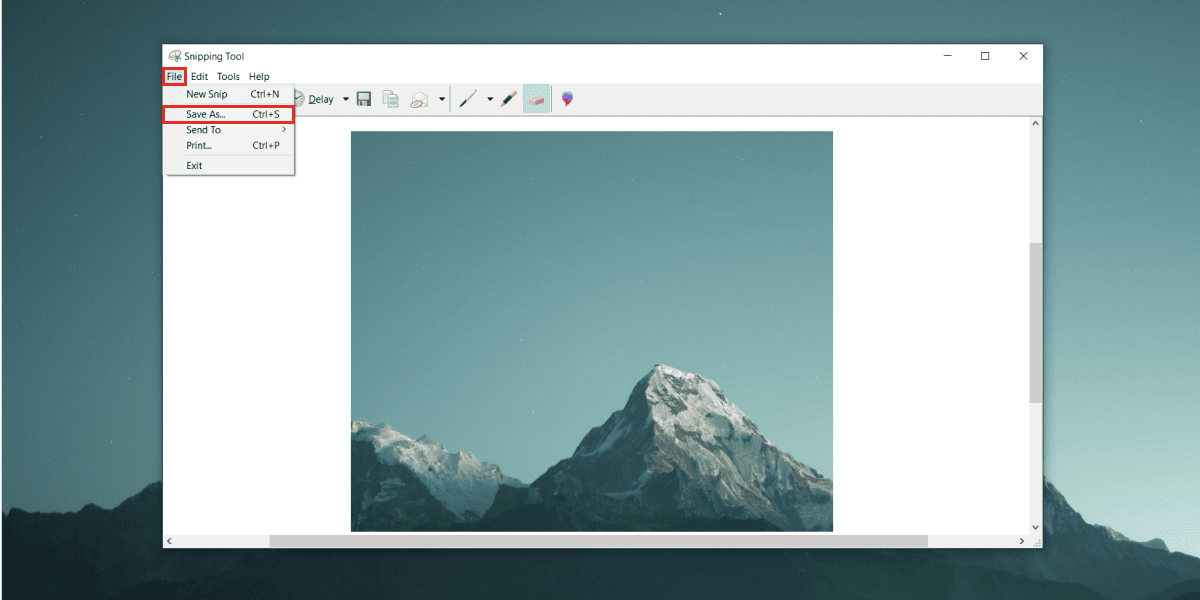
Last but not least, select File > Save as to save the screenshot in PNG format.
How to Use PrintScreen Key to Capture Partial Screenshot
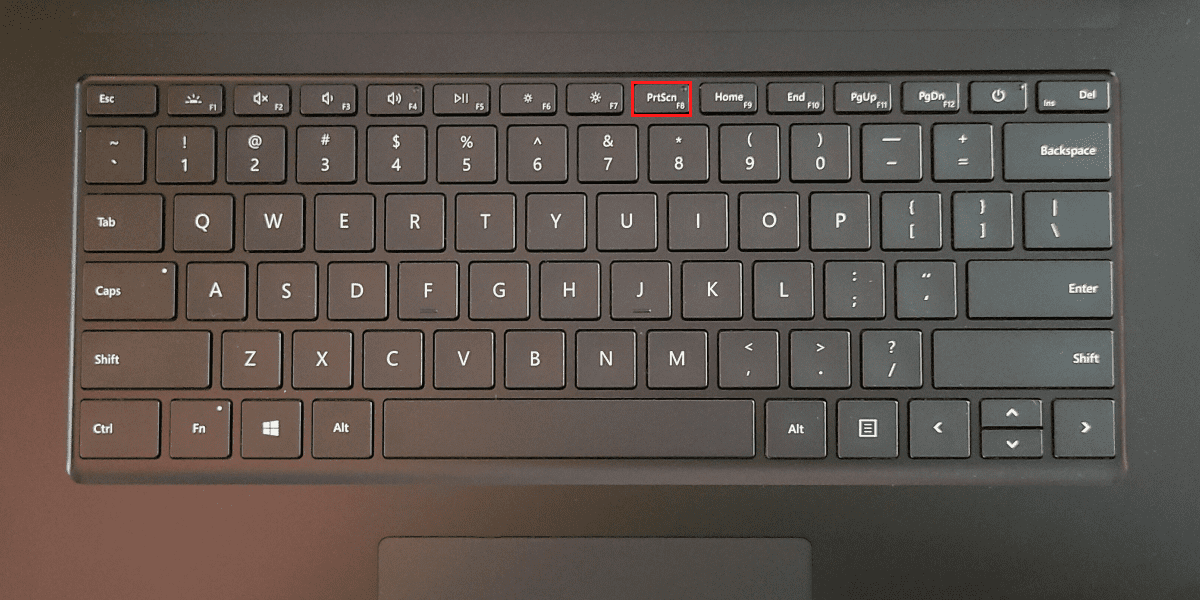
The Print Screen key (also known as PrtScr) is a Windows 10 feature that allows you to capture a screenshot of the whole screen instantly. To use this cool feature, simply press the Print Screen key on your keyboard. Of course, that will capture a full screen’s screenshot and then save it to the clipboard for your use.
However, the PrintScreen key on your keyboard can also capture a partial screenshot. Here’s how:
-
Tap the PrintScreen key on your keyboard. That takes a screenshot of the full screen.
-
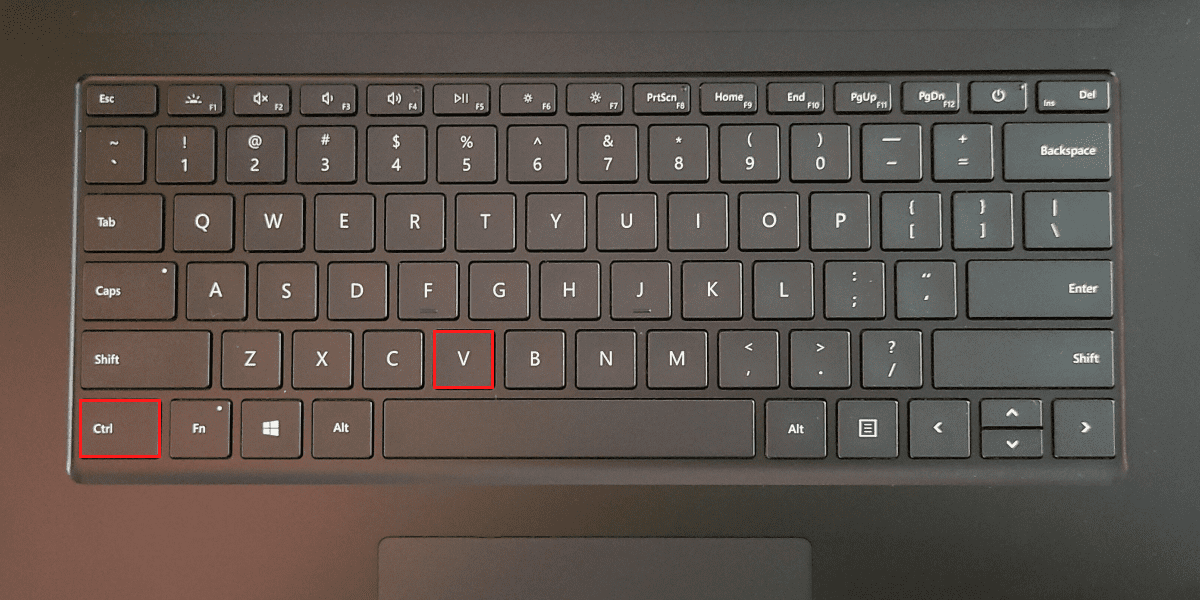
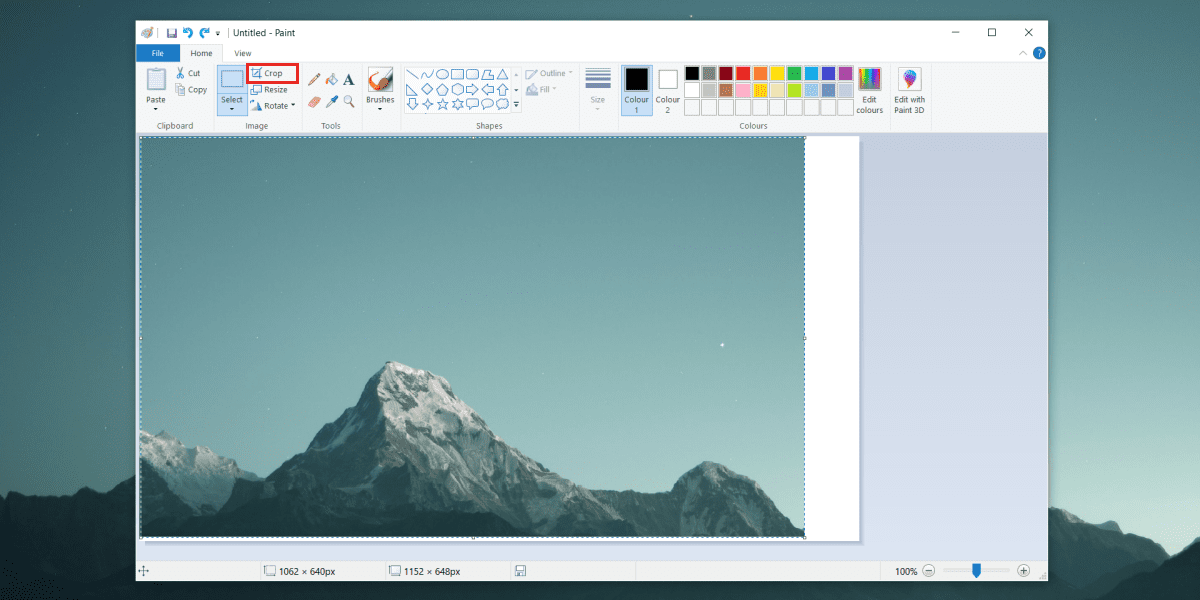
Next, you should open an image editing software (such as Paint or Photoshop) and paste the screenshot (Ctrl + V).
-
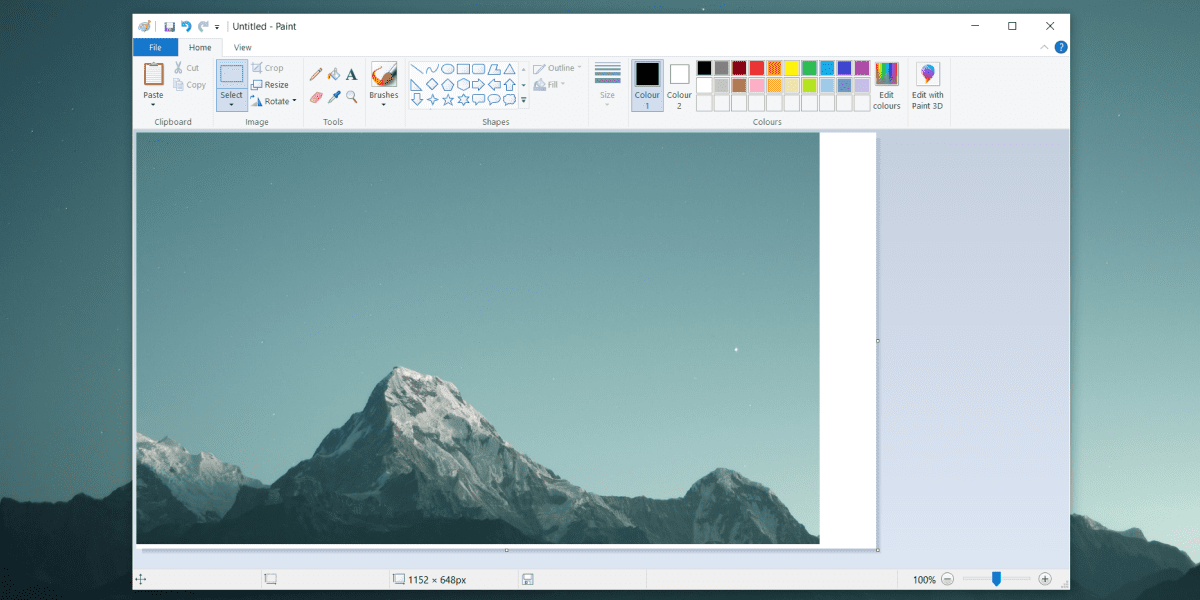
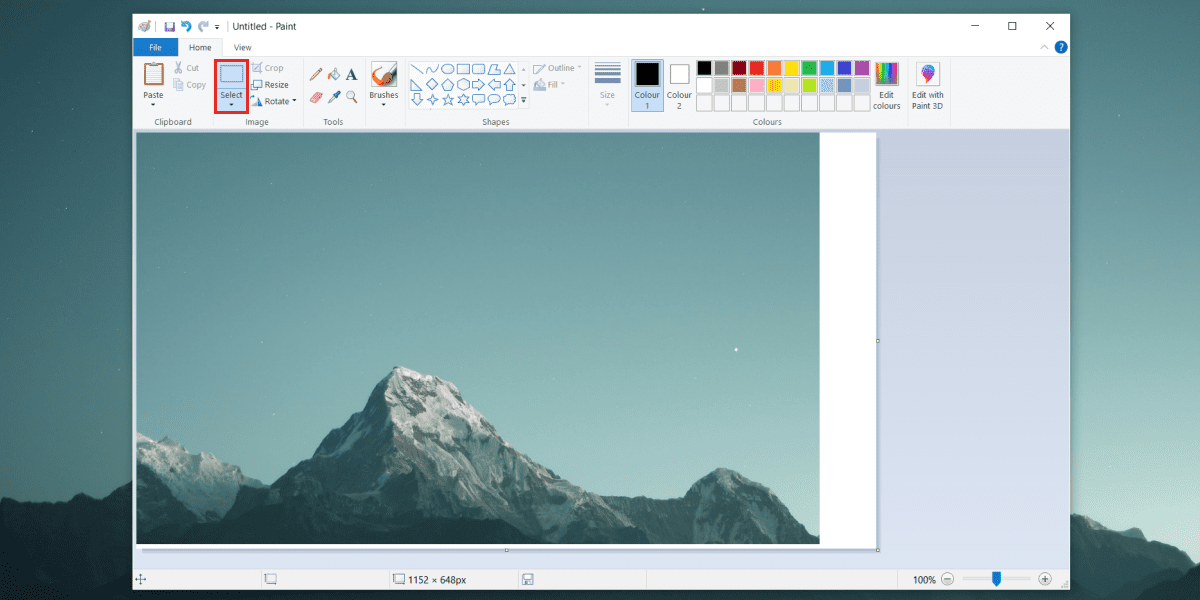
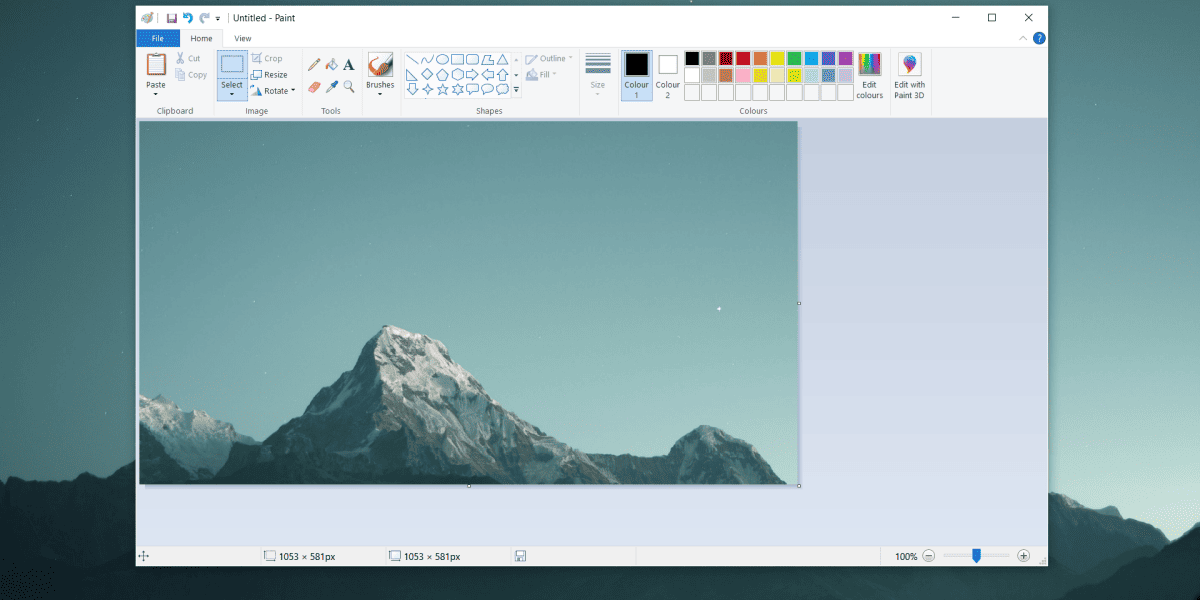
Use the picture editing software's selection tool to keep only a portion of the screenshot.
-
Crop the image to remove any undesirable areas.
-
Save your clipped image.
Conclusion
In conclusion, taking a partial screenshot on Windows is a simple and easy operation that can be accomplished with built-in tools such as Snip & Sketch, the Snipping Tool, or even the PrintScreen key. Efficient tools like Screenpixel also work great and, quite frankly, save a lot of time.
Regardless, these technologies enable professionals to swiftly and efficiently capture specific sections of their screens. That, of course, facilitates communication, cooperation, and problem resolution in their respective fields.
We hope this article has provided you with a range of options for taking partial screenshots, allowing you to select the one that best meets your needs.
If you are still undecided, consider the following essential factors: Prioritize ease of use to prevent complexity, make sure the tool has the capabilities you need, such as editing tools and sharing possibilities, stick to your budget when choosing a tool, and choose a product with dependable customer service to help you if needed.
FAQ
-
What does a partial screenshot mean?A partial screenshot is an image capture showing only a piece of your screen rather than the complete screen. It lets you quickly and easily capture a specific portion of the screen and save it as an image file. You can use a partial snapshot to quickly capture a webpage, an important message, or other data.
-
How do I take a partial screenshot on a PC?There are several methods for taking a partial screenshot on a PC:
● Using Screenpixel: To use Screenpixel, first install and start it, then press and hold the left and right mouse buttons simultaneously to pick the region of the screen you want to capture.
● Using Snip & Sketch: To open Snip & Sketch, press Windows Key + Shift + S, then pick the screen area to capture.
● Using the Snipping Tool: To open Snip & Sketch, press Windows Key + Shift + S, then choose the screen area you wish to capture. -
How do you take a partial screenshot with shortcuts?To take a partial screenshot using shortcuts, you can use the following methods:
● Snip & Sketch: To open Snip & Sketch, press Windows Key + Shift + S and choose the screen area you want to record.
● Snipping Tool: To open Snip & Sketch, press Windows Key + Shift + S and choose the screen area you want to capture.
● Screenpixel: After installing and launching Screenpixel, press and hold the left and right mouse buttons simultaneously to select the part of the screen you wish to capture. -
Where do partial screenshots go on Windows?Partial screenshots of the discussed methods are saved to the clipboard by default. You may copy and paste them into a text or picture editing program to make changes or save them. However, screenshots on your Windows laptop are sometimes automatically saved to specific folders.
Now, depending on your system settings and the method you use, the exact location may change. Alternatively, you can use Screenpixel. It has a specific place for storing screenshots. Then there is the Snip & Sketch and Snipping Tool. Those might save screenshots to your Pictures folder by default. Therefore, it's crucial to find out where your partial screenshots are saved by looking through your settings or the instructions for the particular program you're using. -
Can I take a partial screenshot Using the Xbox Game Bar?The Game Bar overlay in Windows 10 lets you take screenshots and record gameplay. To utilize it, press Windows + G to bring up the Game Bar. That will open an overlay window with several options. To capture a screenshot, click the Screenshot button. You can then make a selection around the area of the screen you want to record. Once you've chosen an area, the screenshot will be copied to your clipboard.
-
Can a screenshot be taken without using the keyboard?Yes, you can take a screenshot without using the keyboard. Many Windows programs and tools, like Snip & Sketch, Snipping Tool, and lightweight tools like Screenpixel, enable you to capture screenshots using just your mouse.
-
What is the best way to instantly save screenshots?The best way to instantly save screenshots is to use Screenpixel. With the help of this program's special mouse-based activation approach, you may quickly choose and take a screenshot.
You can also annotate the screenshot with Screenpixel before saving it. One of its most notable features is the ability to modify the screenshot area before saving without losing any previously used drawing tools. Because of its adaptability, Screenpixel is the best option for fast taking and storing screenshots.
